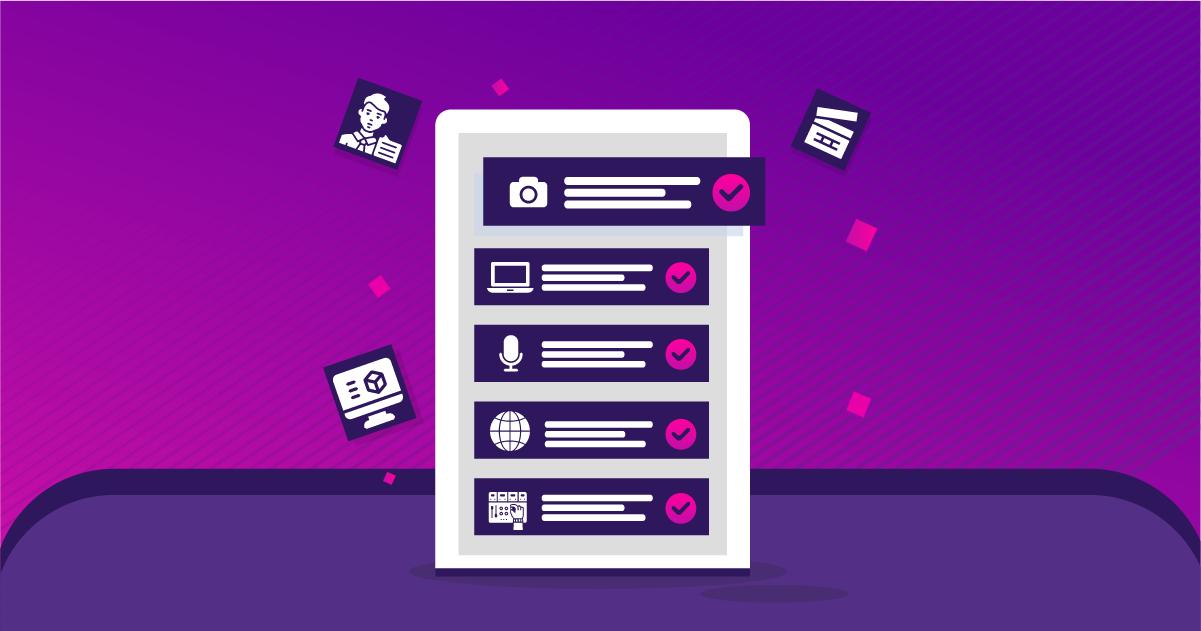
We covered the basics of setting up a live stream in our previous blog, A Beginner’s Guide to Live Streaming. Now, it’s time to step up to a professional level. Live streaming is more popular than ever, and according to stats, over one-quarter of internet users watch live streams each week, and live stream viewership has more than doubled since 2019. To help you deliver a high-quality broadcast, we’ve prepared a comprehensive live streaming checklist of essential points for professional live streams.
Good equipment is the base of every professional stream. A strong computer, camera, and microphone will improve both video and audio.
Always test your setup and internet connection before going live to avoid problems.
Keep your background neat and use proper lighting so the focus stays on you.
Plan your content, choose the right format, and create buzz before your stream starts.
Engage with your audience during the stream and follow up after it ends to build a loyal community.
Basic Checklist for Professional Live Streaming
This section provides a basic checklist for professional live streaming equipment and setup. Following these guidelines will help you deliver the best livestream experience to your audience. Consider this your go-to live checklist before hitting the “Go Live” button.
Laptop or Computer
The exact technical requirements of a laptop may vary depending upon the live streaming software you use. However, any new laptop available today will work perfectly fine for live streaming. Look for something with:
– At least 8GB of RAM
– A Solid Slate Hard Drive (SSD)
– At least 3-4 USB ports
You can also stream using the desktop computer if you don’t need the portability offered by a laptop.
Camera
Though built-in laptop cameras might suffice for casual streaming, professional live streams often require higher-quality video. According to our Live Streaming Checklist, the use of professional cameras is recommended for better video quality. Popular choices include:
The most commonly used cameras for professional live streaming are:
- Logitech C922 Pro – allows full-HD streaming, with stereo microphones and no external mic support.
- Panasonic HC-V770 – highly regarded amongst YouTubers, with self-framing and manual focus options.
- Sony A7 III – high-end mirrorless camera with interchangeable lenses, allows to record and stream simultaneously.
- Microsoft LifeCam HD-3000 – best camera if you’re on a tight budget, allows high-definition streaming, with simple plug-and-play functionality
- EMEET Pixy Dual-Camera 4K Webcam – Emeet Pixy is an innovative AI-powered PTZ webcam with dual lenses for advanced focus and auto-tracking. It captures ultra-clear 4K video (up to 60fps) and even supports gesture controls.
Pro Tip: If you want to use multiple camera angles, OneStream Live allows multi-camera live streaming with up to four cameras at once. This can make your production feel like the best livestream studio broadcast.
Microphone
A professional stream cannot be possible without clear audio, as it is crucial for everyone. So, every streamer checklist must include audio quality. As noted in our Live Streaming Checklist, audio quality is just as important as video quality. Options vary based on your setup needs:
– Use condenser microphones with a table-top stand for stationary streaming setups.
– For more dynamic and sit-and-chat streaming setups, lapel microphones are a great option.
Some of the most preferred microphones for professional live streaming include:
- Shure MV7 Podcast Microphone – with integrated touch panel for mic controls
- Blue Yeti X – with zero-latency monitoring, smart knob controls, and blue voice
- HyperX SoloCast – with tap-to-mute sensor and sound nearly identical to QuadCast
- Blue Yeti Nano – with 48kHz sample rate, zero-latency monitoring, mute and headphone volume controls
- HyperX Quadcast S – with built-in shock-mount
Audio Mixer
An audio mixer, an essential item on our Live Streaming Checklist, allows for the integration of multiple audio sources, ensuring balanced sound levels during your stream. Key features to consider include:
– Physical size
– Automation and connectivity
– Input and outputs
– On-board processing
– User interface
Software
Software is the magic key that plays a pivotal role in polishing the streams for broadcast, complete with scenes and transitions. This is where you can do the branding by adding your logo and other graphics and overlay it on the live video.
Pro Tip: You can stream professionally with your branded live stream to over 45 social platforms simultaneously using OneStream Live.
Internet Access
Reliable internet access is crucial, as detailed in our Live Streaming Checklist. A wired connection is preferable to avoid the instability of Wi-Fi. Test your network speed before going live to ensure it can handle the stream, aiming for a minimum upload speed of 30 Mbps.
– Avoid Wi-Fi at all costs
– Test the speed before you go live
– Maintain an upload speed of 30 Mbps
– Have a backup connection
Filming Spot
Backgrounds in your stream are essential. Keep them neat and tidy, motion-free, and disturbance-free. The viewers want everything to be clear and simple so they can focus on you.
– Avoid dark rooms and low ceilings.
– Pick a quiet place with good lighting, no sounds, and no interruptions.
Perfect lighting is the often-ignored component of a quality stream. However, the lighting of your video sets the mood of your viewers. Make sure you have adequate lighting to brighten up your stream.
– Face the window of the room or manually brighten up the streaming space with LED lights.
– Opt for softbox lighting or desktop lighting, depending upon your budget and available space.
– Use the standard 3-point lighting to provide lighting from three different angles to obtain a balanced look without sharp appearances and shadows.
Presenter’s Outlook
How you present yourself on camera is a key part of a professional stream. Dress and prepare with your audience in mind:
- Dress in solid colors. Avoid busy patterns, checks, or stripes which can look strange on camera.
- Minimize glare and distractions. If possible, avoid wearing eyeglasses (they can catch glare from lights). Likewise, skip large or clunky jewelry that might jingle or distract viewers.
- Stay comfortable but professional. Avoid extreme seasonal outfits like heavy turtlenecks or thin tank tops, they might not look flattering on stream. Opt for something that looks neat and feels comfortable for the duration of your live stream.
- Camera-friendly makeup: If you wear makeup, go for a matte finish to reduce shine. This helps avoid an unflattering on-camera glow from your lighting.
How to Start a Stream: Pre-Stream Checklist
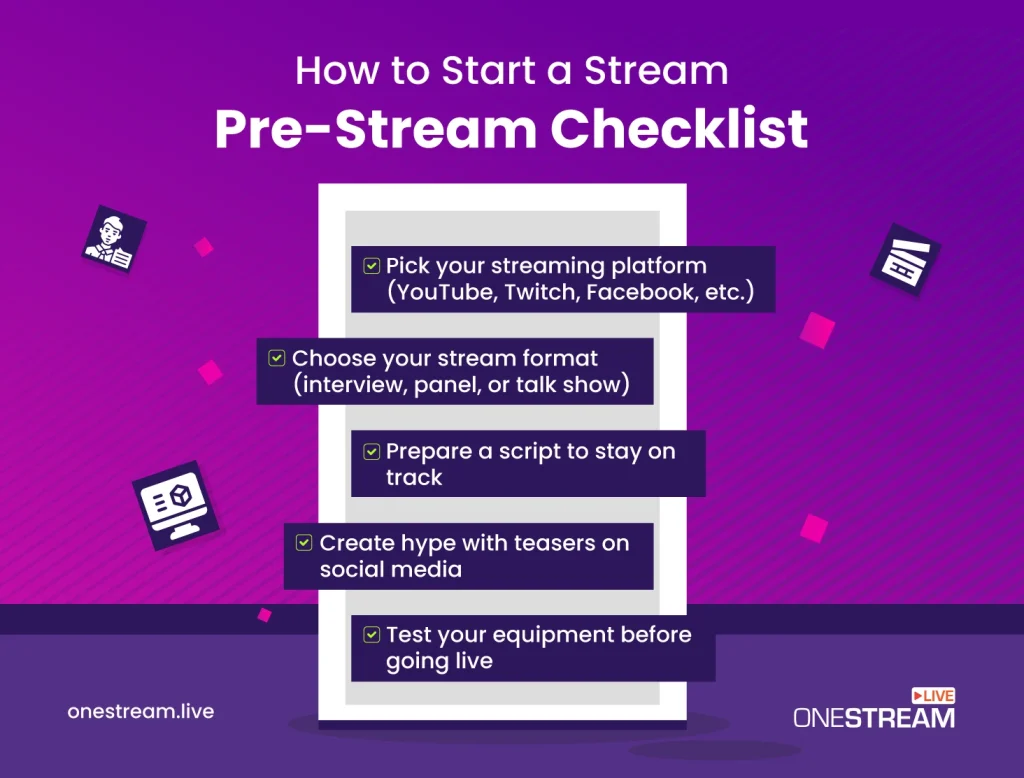
Being well-prepared before you go live can keep things simple and smooth. Here’s how to start a stream on the right foot, with a pre-stream checklist of steps:
- Decide your live streaming destination – You might want to broadcast on your socials such as Facebook, Instagram, YouTube, Twitter, or Twitch. Or you might want to embed your video on a specific website.
- Select live stream format – You might want to conduct an interview, or host a panel discussion, or engage in an interactive talk show with your audience. You must define this well before you go live.
- Prepare a script – This script will act as a guard rail to prevent you from going astray from the topic when you go live.
- Create hype on social media – You can do this by sharing teaser posts and short clips to create a buzz of excitement before you go live and pique the interest of your audience.
- Live streaming test – You must test livestreaming gears and all your equipment before you go live. While it might be easy to overlook this tip, but one single error can destroy your stream.
During your Live Stream
Once you’re live, it’s all about engaging your audience and maintaining a smooth presentation. Here are some best practices to follow during the stream:
Look at the Camera
It may feel odd at first, but looking into the camera lens rather than at your screen helps create eye contact with your viewers. This makes your audience feel more connected to you.
Engage with Viewers
Encourage interaction to keep viewers hooked. Read and respond to chat comments, answer questions, and consider using live polls or Q&A features. Mention viewers by name when replying to make it personal.
Multistream to Reach More People
If you have the bandwidth and a tool like OneStream Live, start streaming to multiple platforms at once (e.g., YouTube, Facebook, and Twitch). This streaming checklist item makes sure you maximize viewership across your audience’s preferred platforms.
Use Clear Titles and On-Screen Graphics
Make sure your stream has a descriptive title and use on-screen captions or labels for sections of your stream (for example, labels for a Q&A segment or topics you’re discussing). This helps new viewers understand what’s going on if they join mid-stream.
Avoid Common Mistakes
Technical and presentation mistakes can hurt your professionalism. Double-check that your mic is not muted when you start, that you aren’t dropping frames due to poor connection, and so on.
For a deeper dive, see our blog on the top 6 live streaming mistakes and how to avoid them.
Try Useful Tips and Tricks
Use any platform tools or creative tricks to enhance your stream. This could be adding alerts for new followers, cool transition effects, or interactive widgets. For inspiration, read our OneStream Live Tips & Tricks guide for pro streaming hacks.
Maximize Audience Engagement
Keep finding ways to involve your audience. Ask questions to prompt chat responses, run giveaways or contests, or create challenges. The more viewers participate, the more enjoyable the stream. Need ideas? Check out our ultimate guide on engaging maximum audience during a live stream.
After your Live Stream
- Thank your viewers for watching your video, appreciate their time to motivate them to tune in for your next session.
- Follow-up to any unanswered questions posted during the live video, don’t leave them hanging.
- Share a teaser of what to expect on the next live stream.
- Share the recorded video of your live stream so people can view what they missed.
- Analyze your data to better plan your following streams
Putting it All Together…
Live streaming is no rocket science. However, professional live streaming calls for extra effort and mindfulness of the best equipment and the best practices for ideal results. This live streaming checklist can help ensure everything runs smoothly, from equipment setup to audience engagement, leading to a smooth streaming experience.
Using OneStream Live will add the extra pinch of creativity and ease that you need for setting up professional video broadcasts. If you’re not already using OneStream Live for your live streaming and video hosting needs, now is the time to amp up your streaming experience and keep your audience coming back for more live videos. With a well-prepared Live Streaming Checklist, you’ll be on your way to delivering a top-notch broadcast every time.
FAQs About Live Streaming Checklist for Professionals
By combining high-quality equipment, a stable internet connection, and an engaging presentation, you can deliver a professional live stream.
A camera, microphone, reliable internet, streaming software, and good lighting are the core ingredients.
No, you only need 1,000 subscribers for mobile live streaming on YouTube, while desktop streaming has no such limit.
Utilize overlays, consistent branding, clear audio, and interactive elements to enhance the professional appearance.
A stable upload speed of at least 5–10 Mbps ensures smooth, high-quality streams without buffering.
Yes, using dedicated streaming software like OneStream Live or platforms helps manage overlays, scheduling, and multistreaming effectively.
OneStream Live is a cloud-based live streaming solution to create, schedule, and multistream professional-looking live streams across 45+ social media platforms and the web simultaneously. For content-related queries and feedback, write to us at [email protected]. You’re also welcome to Write for Us!

