The internet may connect billions of people, but language remains a stubborn wall. If you’re streaming in only one language and not adopting multilingual live streaming, you’re inevitably boxing out vast swaths of potential viewers. In fact, English speakers make up less than 20% of the world population, which means roughly 4 in 5 people can’t understand half of what’s on the web if it’s only in English. That means a single-language broadcast is likely unreadable or unwatchable to 80% of global viewers. For a content creator with global ambitions, that’s a huge lost opportunity.
What’s the solution? Start streaming in multiple languages. If the phrase sounds daunting, don’t worry. We’re not suggesting that you suddenly become fluent in five languages, you need to implement a practical workflow to break the language barrier for your audience.
In this post, we’ll walk through exactly how to do that. You’ll learn why streaming in multiple languages is a strategic must-have, and we’ll cover a step-by-step plan to make your live streams truly global in reach and impact.
Multilingual live streaming helps creators reach audiences worldwide by breaking language barriers.
Adding subtitles and translations makes streams accessible to diverse viewers and the hearing impaired.
Multilingual captions and transcripts improve SEO and help content rank in multiple languages.
Viewers stay engaged longer when they can watch content in their preferred language.
Streaming in multiple languages increases reach, engagement, and monetization opportunities.
Translated replays and multistreaming give your content lasting global visibility.
Why Multilingual Live Streaming Is Important
Opening your stream to multiple languages is a catalyst for growth. Here’s why going multilingual pays off in concrete terms:
1. Return on Investment (ROI) and Reach
Streaming in multiple languages instantly scales your potential audience from millions to billions. Instead of tapping only a single language demographic, you can cater to viewers across continents. More viewers equal more engagement, subscribers, and monetization opportunities. It’s simple math: speak more languages, reach more people.
2. Accessibility & Engagement
Multilingual streaming also means better accessibility. Studies show that around 85% of social media videos are watched on mute. Viewers scroll in public or prefer captions, so if your stream has no subtitles, much of your message could be lost.
Add to that the estimated 5% of the global population with hearing impairments, without captions or translations, they’re not tuning in at all. Captions (in any language) make your content watchable in noise-sensitive environments and for those with hearing difficulties.
3. Global Market Reach
The fastest-growing audiences online often speak languages other than your own. E.g., Spanish, Mandarin, Hindi, and Arabic are language groups that represent hundreds of millions of potential viewers.
By offering streams or subtitles in those tongues, you tap into new markets. It’s a multistreaming strategy for growth: what was once a local broadcast becomes a global one.
Even providing multilingual subtitles can bridge the gap for viewers who prefer reading in their native language. Consider this ROI from a discoverability standpoint: multilingual captions can expand your audience and improve content discoverability in searches. More people finding your stream means more loyalty and revenue over time.
4. SEO and Discoverability
Text is how search engines understand content. When you provide transcripts or subtitles in multiple languages, you’re effectively telling Google and YouTube what your video is about in those languages.
According to streaming industry insights, multilingual text helps your content appear in more language-specific searches. In other words, translated captions act as SEO bait for non-English queries. Plus, higher accessibility often correlates with better watch time and user satisfaction, which are factors that algorithms reward. It’s all connected.
5 Steps to Make Your Live Streams Multilingual
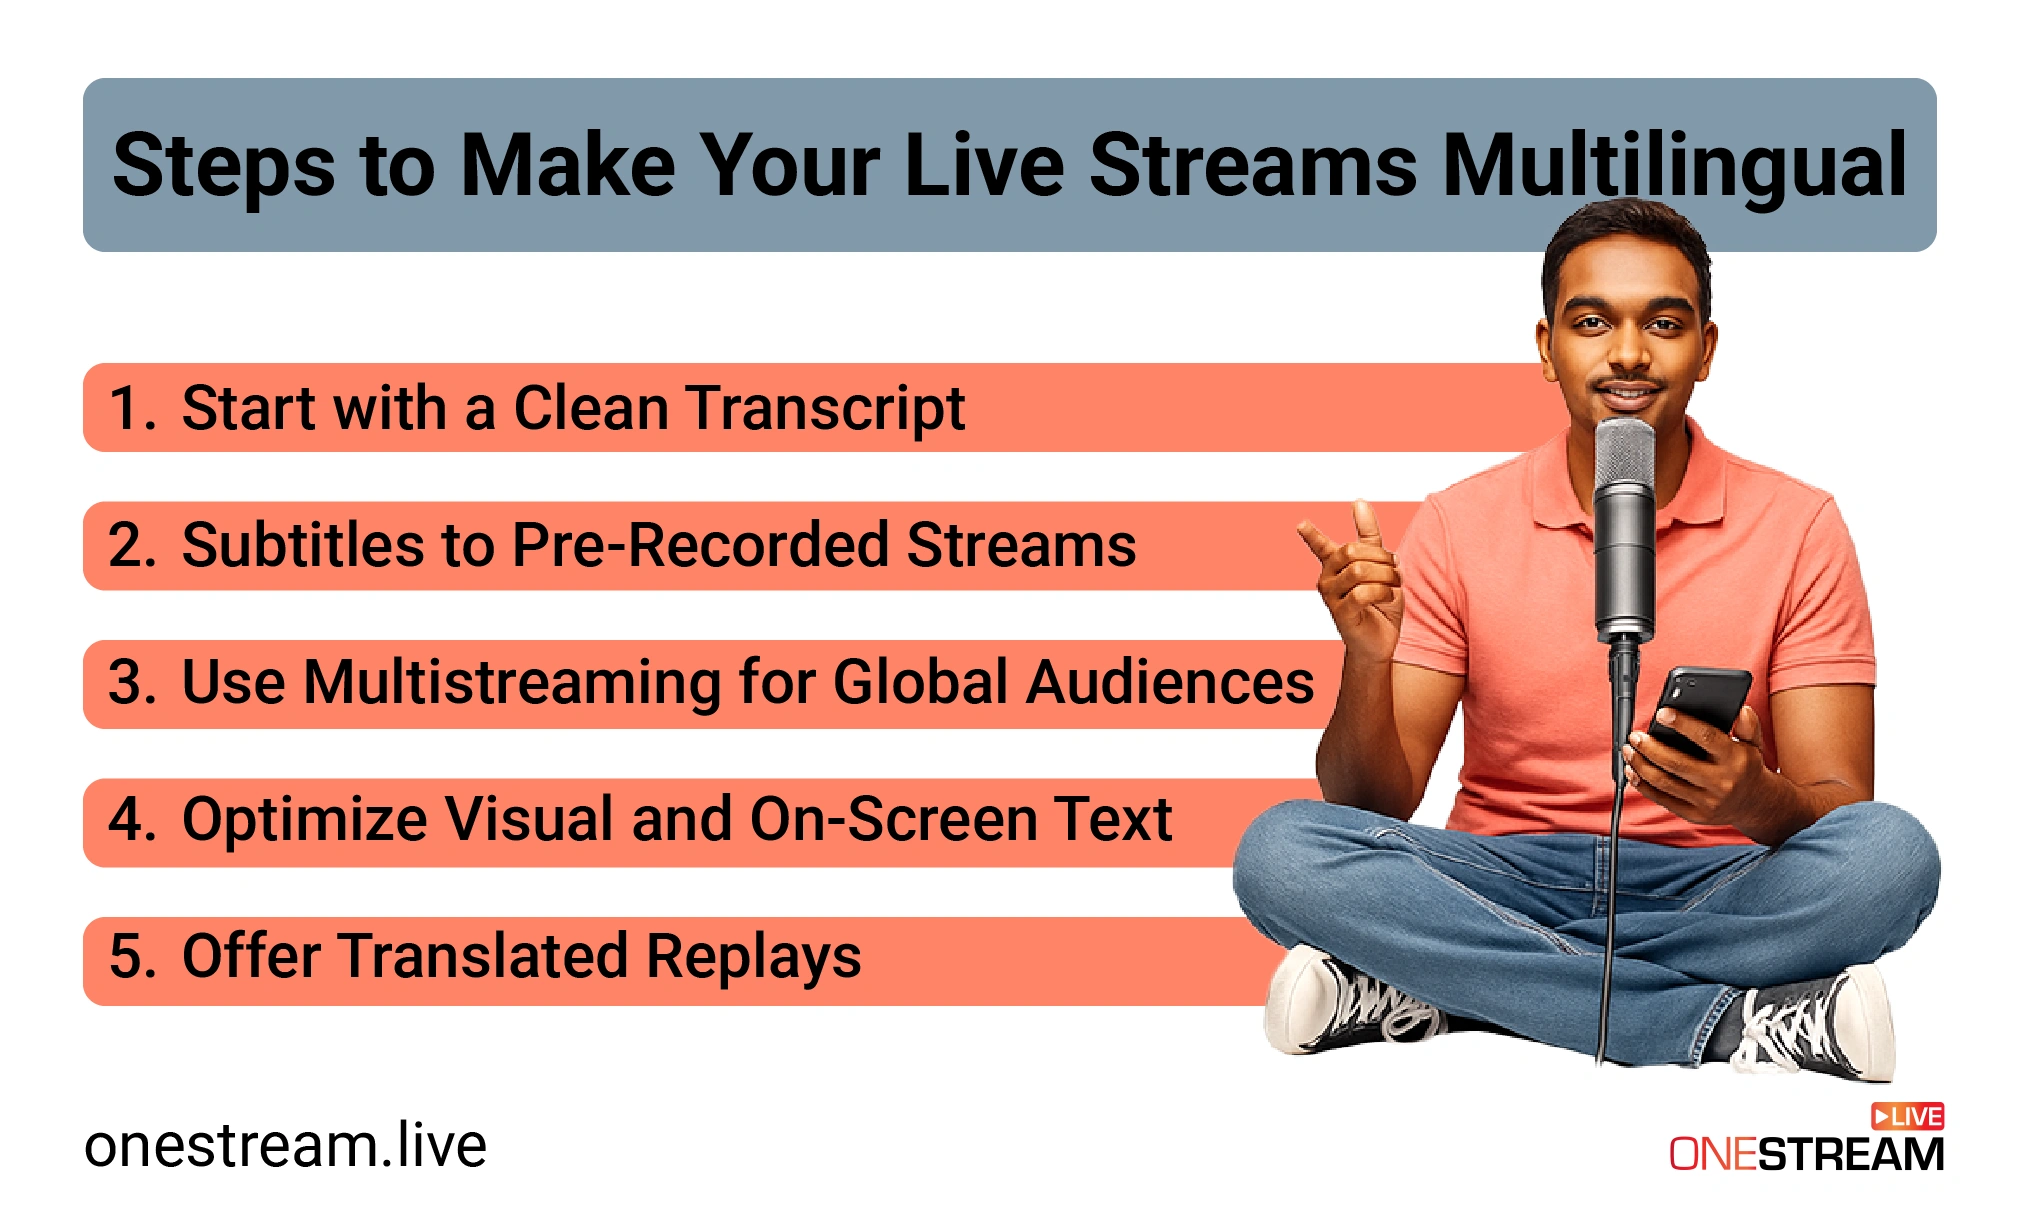
Step 1: Start with a Clean Transcript
Every multilingual workflow starts with one foundation: an accurate transcript of your content. Accurate video transcription is the bedrock for all further translation and captioning efforts.
Why? Because any mistakes in your transcript will be amplified across every language you translate into. It’s hard to produce quality multilingual subtitles or audio dubs if your base script is full of errors. So, get a clean transcript of your live stream or video first.
There are a couple of ways to do this. If you scripted your stream or have show notes, refine those into a verbatim transcript. Otherwise, use technology to transcribe audio to text. Modern AI tools make transcription quicker and fairly accurate. You can even transcribe online using a service that converts video/audio to text in multiple languages. The goal is a time-stamped text file (like a .txt or .srt) capturing every spoken word.
Quality here matters. Aim for the transcript to be as close to 100% accurate as possible, including speaker labels or timestamps if needed. The difference between a 95% accurate transcript and a 99% accurate one is huge when you’re translating; those little errors or missed words can confuse translators or lead to awkward subtitle phrasing.
A clean transcript ensures that when you move to the next steps (like translation or subtitle creation), you’re working off a solid reference. It’s much easier to translate a polished script than a messy one.
For example, suppose you just finished a live Q&A session. Take the recording and feed it to a transcription service. Within minutes, you’ll have the video to text transcript. Review it, correct any misheard terms or names (AI isn’t perfect with proper nouns or industry jargon).
This edited transcript is now your master key for multilingual streaming. You’ll use it to generate subtitles in various languages and perhaps even feed it into text-to-speech or dubbing tools if you go that route. Invest time here as it pays off throughout the process.
Pro Tip: If you livestream without a script, consider hiring a transcriptionist or using an advanced transcription AI right after the broadcast. The faster you get the transcript, the sooner you can repurpose the content for other languages.
Step 2: Add Subtitles to Pre-Recorded Streams
With a clean transcript in hand, the next step is to turn that text into subtitles. Subtitles (captions) are the easiest way to make your stream understandable in multiple languages without re-recording anything.
They’re also crucial for pre-recorded videos that you plan to stream as “live.” In this step, you’ll create an .srt caption file (or several, for each language) and attach it to your video. This gives you multilingual subtitles that viewers can read alongside your stream.
How to add subtitles to pre-recorded video? Start by using your transcript from Step 1 to create an SRT file in your original language. There are subtitle editor tools (some transcription services even export SRT directly).
Read Blog About Open Captions & Closed Captions
Ensure the timing is synced with your video, as captions should appear exactly when the words are spoken. Once you have an accurate subtitle file in, say, English, you can translate those captions into other languages.
You might do this manually (by hiring translators or using translation software) or via platforms that support subtitle translation. The goal is a set of subtitle files, e.g., stream_en.srt, stream_es.srt, stream_fr.srt, etc., for English, Spanish, French, and so on.
OneStream Live makes this process straightforward. The platform lets you add captions to pre-recorded videos for better accessibility and reach. In practice, you can upload your video to OneStream Live’s pre-recorded streaming feature, then import or write subtitles right in the OneStream dashboard.
Why focus on pre-recorded content here? Many streamers schedule pre-recorded streams (e.g., a polished video that “goes live” at a set time). This is a prime opportunity to incorporate subtitles, because you have time to perfect them beforehand. By adding subtitles to your pre-recorded stream, you ensure any viewer can follow along, even if they don’t speak the original audio language.
Pro tip: Always review your translated subtitles for accuracy and cultural nuances. Idioms or jokes might need tweaking in other languages. If possible, have a native speaker check the translated SRT files. Nothing ruins engagement like weird or literal translations in captions.
Step 3: Use Multistreaming for Global Audiences
Now that your content itself is primed for multilingual consumption (thanks to transcripts and subtitles), it’s time to maximize your distribution. This is where multistreaming comes in. Multistreaming means broadcasting your stream to multiple platforms or channels simultaneously.
How does this relate to multilingual streaming? Think of it this way: you might have separate channels or pages for different languages or regions. For example, perhaps you maintain an English YouTube channel and a Spanish YouTube channel, or an English Facebook page and an Arabic Facebook page. With multistreaming, you can send your live feed to both at the same time, each with its appropriate language overlay or subtitles.
This is a form of geo-targeting content without having to do multiple takes of the same event. It’s one stream, distributed to many endpoints. Viewers in Latin America can watch on your Spanish outlet, while others watch on the English one, and so on, all simultaneously.
OneStream Live excels at this. The platform lets you multistream real-time and recorded videos on 45+ social media platforms and the web at once. With OneStream Live’s multistreaming feature, you can broadcast to Facebook, YouTube, Twitch, LinkedIn, and custom RTMP destinations concurrently.
Beyond just platform, consider regional targeting. Perhaps you have a large following on a platform popular in Asia and another in Europe. Multistreaming covers both in one go. It’s a multistreaming strategy to ensure no viewer is left out due to platform preference or geography.
Pro tip: While multistreaming, keep an eye on your unified chat (OneStream Live offers a unified chat feature). You’ll get comments from different platforms in one place. If you see questions in other languages, a co-host or moderator could help translate or respond in real-time. Engagement is a two-way street, even across languages.
Step 4: Optimize Visuals and On-Screen Text
Going multilingual isn’t only about spoken language or captions, it also involves what’s on screen in your visuals. If your stream is loaded with on-screen text (slides, graphics, titles) in one language, that could still alienate viewers who don’t speak that language. For a truly global-friendly broadcast, you need to optimize your visuals and on-screen text to be as universally understandable as possible.
Here are some practical tips for on-screen text localization and visual design in a multilingual context:
1 – Keep Graphics Text-Light
Aim for global-friendly graphics that rely more on imagery than words. Avoid dense paragraphs or text-heavy slides in your visuals. If you must include written labels (like a chart axis or a diagram tag), consider providing translations in a smaller sub-text or using easily recognizable icons instead.
Remember, any text you put on screen won’t be translated by your subtitles. So, if you flash a big quote in English on your slide, a non-English speaker won’t grasp it. As a rule of thumb, avoid text-heavy slides or have multiple versions in different languages ready to show as needed.
2 – Use Symbols and Icons:
Visual elements like icons, color codes, and images can convey a lot without language. A globe icon, a microphone symbol, and thumbs-up/down speak across languages.
Design your overlays or presentation to lean on these universal visuals. It makes your content more inclusive and reduces the load on viewers to read. It also means you don’t have to create separate graphics per language in many cases.
3 – Design with Captions in Mind:
When adding captions or subtitles, remember they’ll typically appear at the bottom of the screen (or top, depending on platform settings). Make sure your video layout leaves room for them.
For example, don’t put critical info in the very bottom fifth of the screen where caption text will overlay. Video layout for captions is an often overlooked aspect so if you have name banners or tickers, position them such that they won’t clash with subtitles.
Leave some padding. Also, choose contrast colors wisely; white subtitle text is common, so avoid white or light-colored overlays at the bottom. The viewer’s eyes should be able to easily read the subtitles against the background.
4 – Consider Bilingual On-Screen Text
In some cases, especially for recorded content, you might incorporate multiple languages directly on screen. For instance, a opening title might say “Welcome / Bienvenido” to reflect English and Spanish. This can be tricky to do elegantly (you don’t want clutter), but for short key phrases it might be worth it.
It shows viewers immediately that multiple languages are acknowledged. However, don’t overdo this as you can’t list 10 languages on every slide. Use sparingly for emphasis.
5 – Avoid Cultural Missteps in Visuals:
When streaming to a global audience, ensure your images and examples are culturally inclusive. This isn’t exactly language translation, but it’s related. Certain hand gestures, symbols, or references might not carry the same meaning (or could even offend) in other cultures. Globalizing your stream means checking these things.
For example, if your slide uses an acronym or local meme, a foreign viewer won’t get it. Either explain it briefly (which your caption can translate) or replace with a more universal equivalent.
One more consideration: if you demonstrate software or websites in your stream, try to switch the interface language if possible for different audiences. For instance, showing a walkthrough of an app in English is fine for English speakers, but if you know a large chunk of viewers are French, maybe switch the app to French for that segment (or at least provide screenshots in French).
This level of detail can impress your audience that you’ve thought about them. When that’s not feasible, screenshots with callouts in multiple languages (as mentioned above) can help.
Step 5: Offer Translated Replays
Live streams have a second life as video-on-demand (VOD) content. To fully capitalize on multilingual streaming, don’t stop when the live broadcast ends. Offer translated replays of your stream so that people who couldn’t catch you live (or who prefer on-demand viewing) can still engage in their preferred language. This means taking your recorded stream (the replay video) and applying many of the same techniques: subtitles in multiple languages, translated descriptions or titles, and even dubbed audio tracks if you have the resources.
Start with the simplest: translate VOD content via subtitles. Platforms like YouTube make this easy. After your stream, upload the recorded video to YouTube (or if it was streamed there, it’ll already be on your channel). Now add subtitles in various languages.
YouTube allows you to upload multiple subtitle tracks for one video and even lets users choose their language. For instance, you can have English, Spanish, and Mandarin captions all available on the same video – effectively a YouTube multilingual captions setup.
Viewers click the “CC” option and pick the language they want. This vastly extends the reach of a single upload. A Spanish speaker who searches YouTube and finds your video will see that Spanish captions are available and stick around, rather than bouncing away after a few seconds.
To do this, go to your video’s Subtitle settings in YouTube Studio, click “Add Language,” and upload the subtitle file (SRT) for that language. Repeat for each language. If you used OneStream Live to stream and had captions, you likely already created SRT files so you can reuse them here. YouTube even has community-contributed subtitles (or auto-translate features), but for professional content, you’ll want to control the quality by providing your own translations.
Beyond captions, consider translating the video’s title and description for different audiences. YouTube has a feature that lets you add translated titles/descriptions for display to users in those language regions. For example, you can have an English title and an alternate French title; French users will see the French version in search results. This is a bit of an advanced SEO trick, but it can pay off if you’re targeting specific countries.
If you have the means, video replay translation can go further with audio dubbing. This is more resource-intensive (requires voice-over or AI voice in different languages), but it can be highly engaging.
Promote these translated replays on your channels. For example, tweet: “Missed our live stream? Watch the replay with subtitles in English, Spanish, or German on our YouTube channel!” This signals that your content is globally accessible and invites those new audiences in.
Also consider playlists or sections for each language on your YouTube or website. Group all Spanish-captioned content together, so Spanish speakers can binge your material easily. Do similarly for other major languages where you have a lot of content.
Finally, pay attention to feedback. If you notice lots of viewers from a new language demographic (say your French-subtitled videos start getting traction in France), you might next time prioritize adding French or even doing a shout-out in French. Multilingual streaming is an iterative learning process, so over time you’ll discover where the demand is and can tailor your translations accordingly.
Your Audience is Global. Your Stream Should Be, Too.
In the end, the core message is simple: the world is watching. No matter how niche or local you think your content is, there are likely viewers halfway around the globe who would love it, but if only they could understand you. As content creators and broadcasters, it’s on us to remove that friction. Your audience is global, so your stream should be, too.
As you plan your next live stream, challenge yourself to implement at least a couple of these steps. Maybe start with something as small as adding English captions to your stream and multistreaming to another platform. Or translate one of your most popular video replays into a new language and re-upload it. You’ll be amazed at the response. Often, creators find an entirely new segment of fans they didn’t know existed, just by speaking in a new language or adding translated text.
OneStream Live is here to help in this journey. With features like pre-recorded streaming (so you can perfect captions before going live), built-in multistreaming to dozens of platforms, and support for SRT subtitles, it provides the toolkit you need to execute this multilingual strategy. It takes the tech hassle out of the equation so you can focus on content and language.
So, as the saying goes, don’t put limits on how far your voice can travel. Break down that language wall. Schedule that subtitled, multi-destination broadcast. Experiment with a bilingual Q&A session. Fire up OneStream Live, prepare those captions, and start multilingual live streaming to show the world what they’ve been missing in your stream, in a language they understand. Happy streaming!

OneStream Live is a cloud-based live streaming solution to create, schedule, and multistream professional-looking live streams across 45+ social media platforms and the web simultaneously. For content-related queries and feedback, write to us at [email protected]. You’re also welcome to Write for Us!