Share media was never this easy. With OneStream Studio, you can not only share your screen with your audience but also share external media to maximize audience engagement. In this blog, we reveal how to share external media in OneStream Studio.
Sometimes you just want to share an external file during your live stream to help make your point better. This can be a short video, an illustration, or a graphic, without having to share your screen. This may be media with confidential information that must be kept in-house or media that requires permission to view. However, it’s not about sharing informative content only; you may wish to share external media to lighten up the mood and add fun to your live streams.
Share engaging external media in your live streams to:
You can also share external media during your live stream using OneStream Studio. You can either upload your desired file from your device or play directly from your disk without uploading.
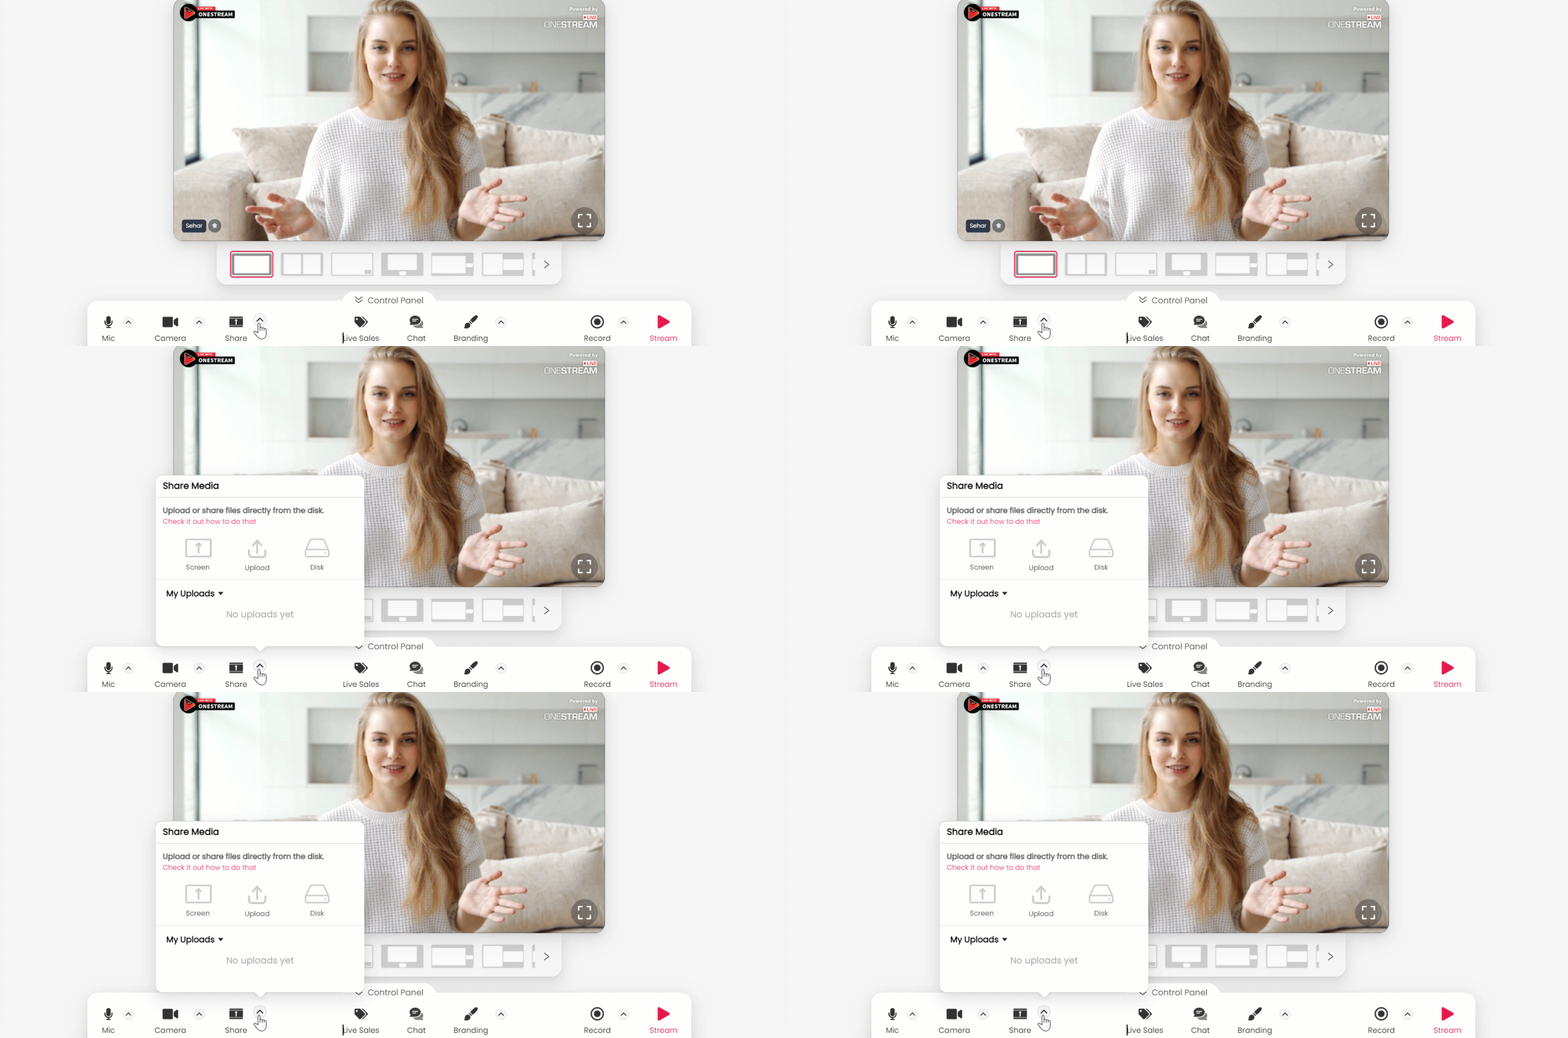
Important: If you click on Share button itself, you will be prompted for screen sharing directly.
Once the file is uploaded, it will show in the My Uploads section.
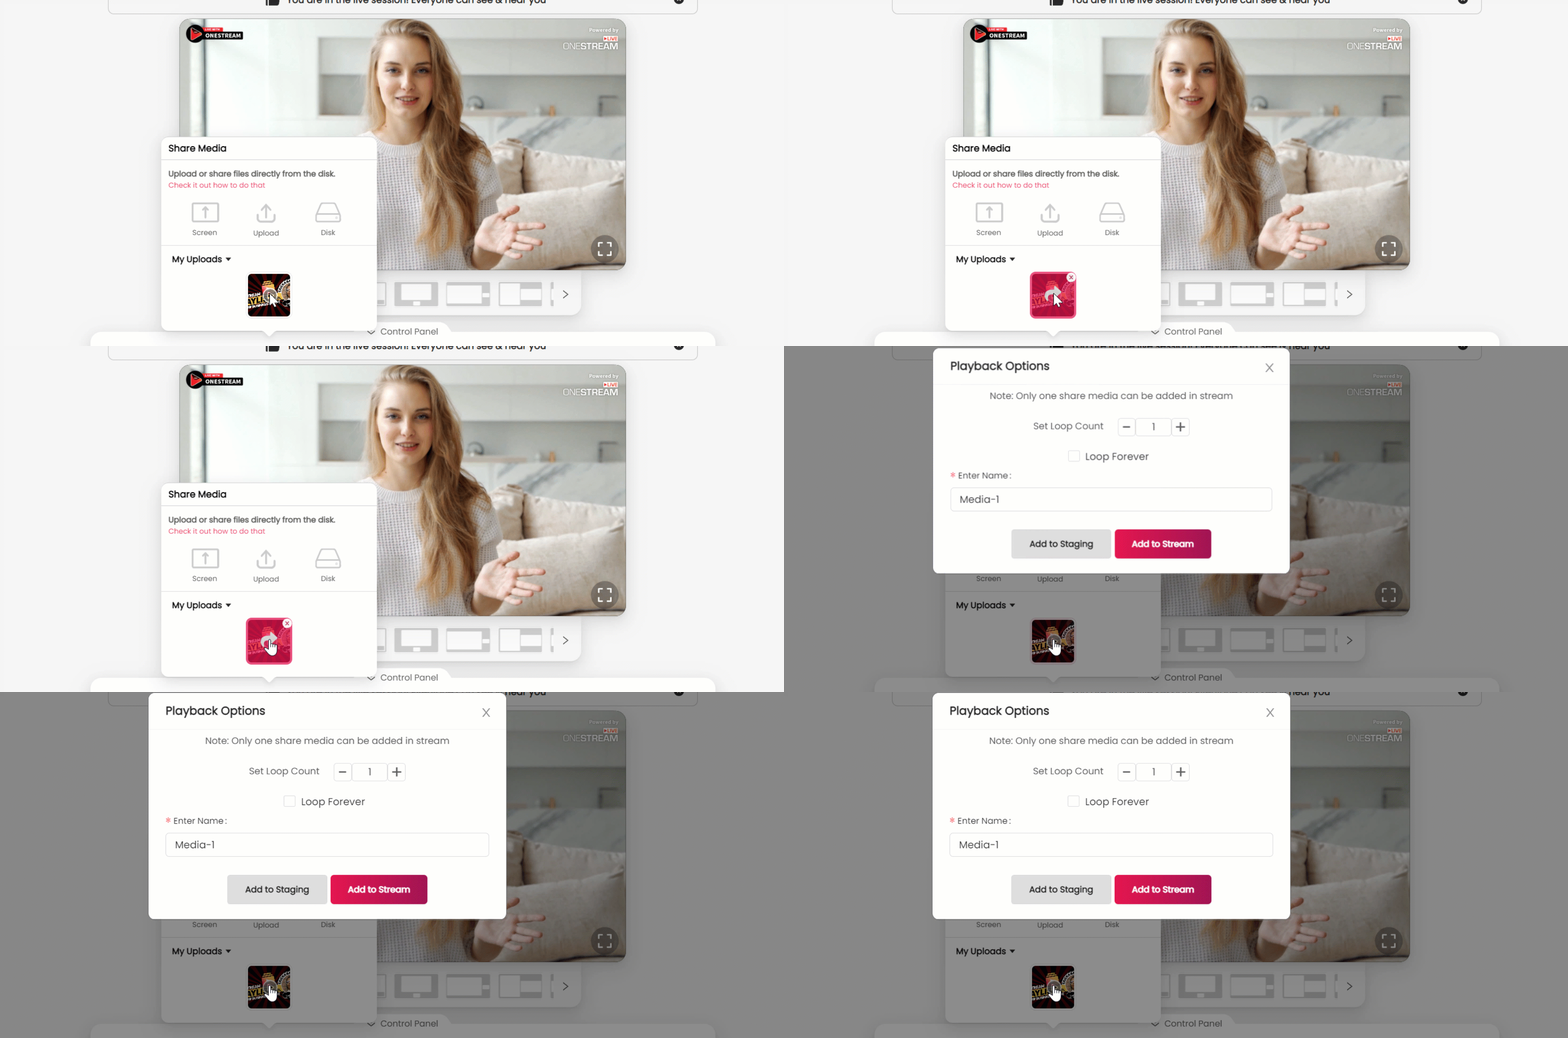
You can set the loop count, select Loop Forever, and edit the media file name as per requirements.
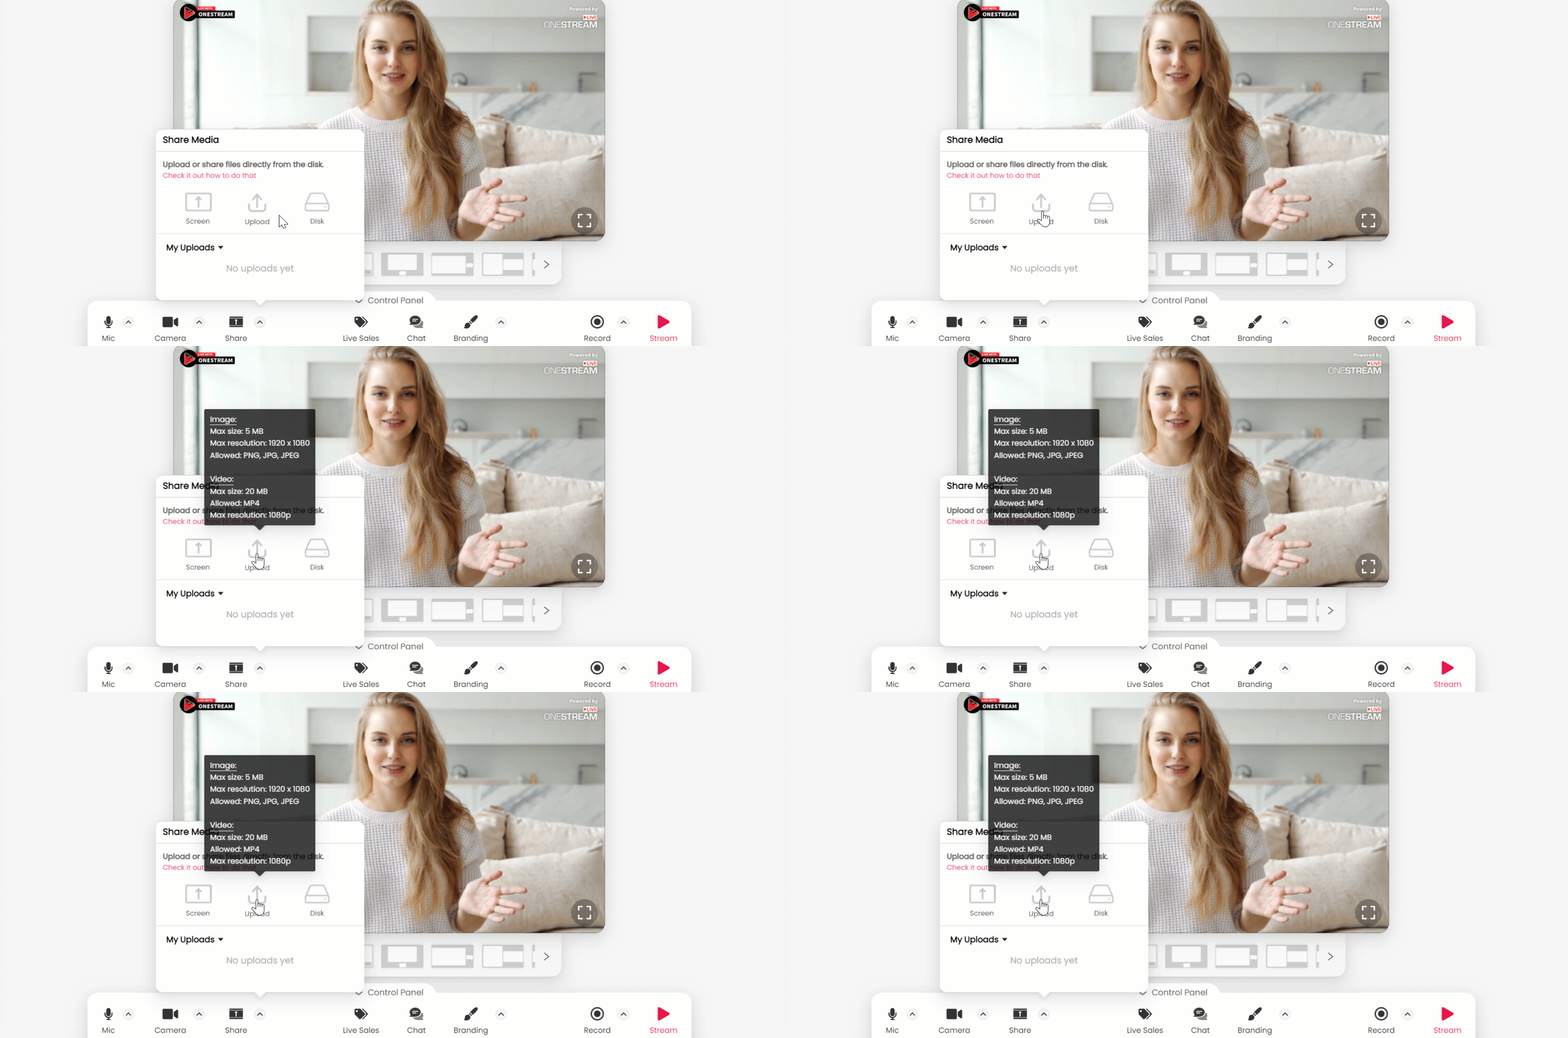
The upload option allows you to add an image or video file to your live stream. The maximum upload limits are:
Image – max size 5MB, max resolution 1920 x 1080, allowed PNG, JGP, JPEG
Video – max size 20MB, max resolution 1080p, allowed MP4
Pro-Tip: If you want to share a pdf, ppt, docx, or any other file type not supported for uploading, you can instead share your screen. Similarly, if you want to share an audio file, opt for screen sharing.
Pro-Tip: You can also upload your custom intervals from this Upload panel.
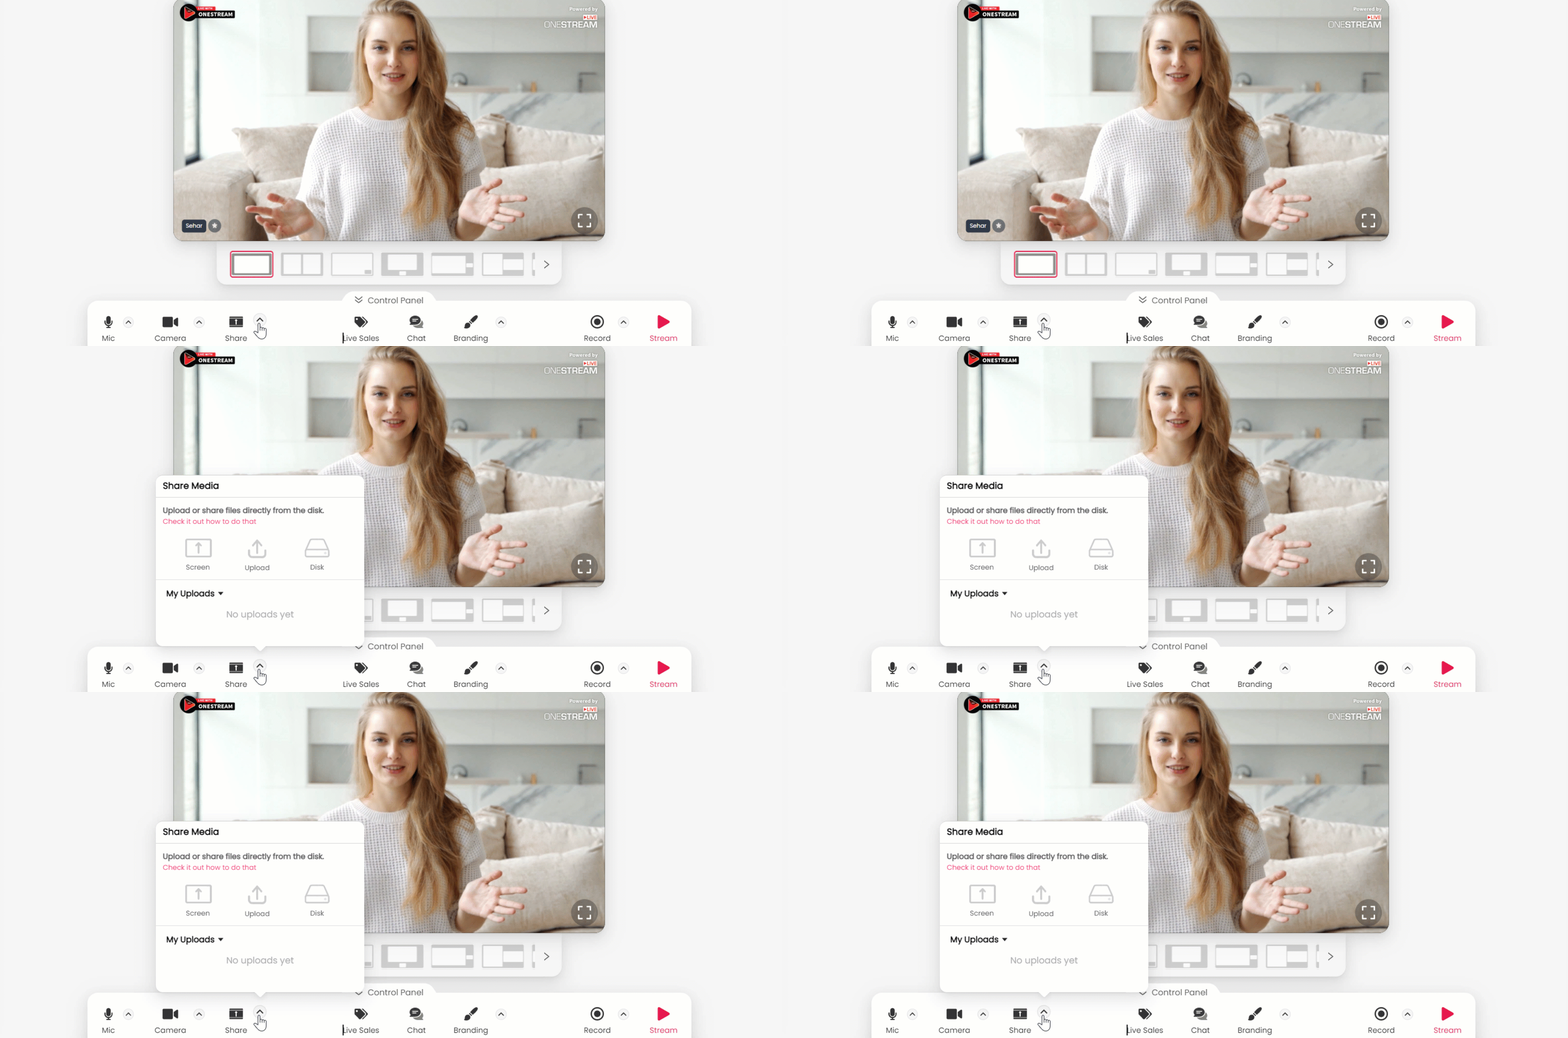
Important: If you click on Share button itself, you will be prompted for screen sharing directly.
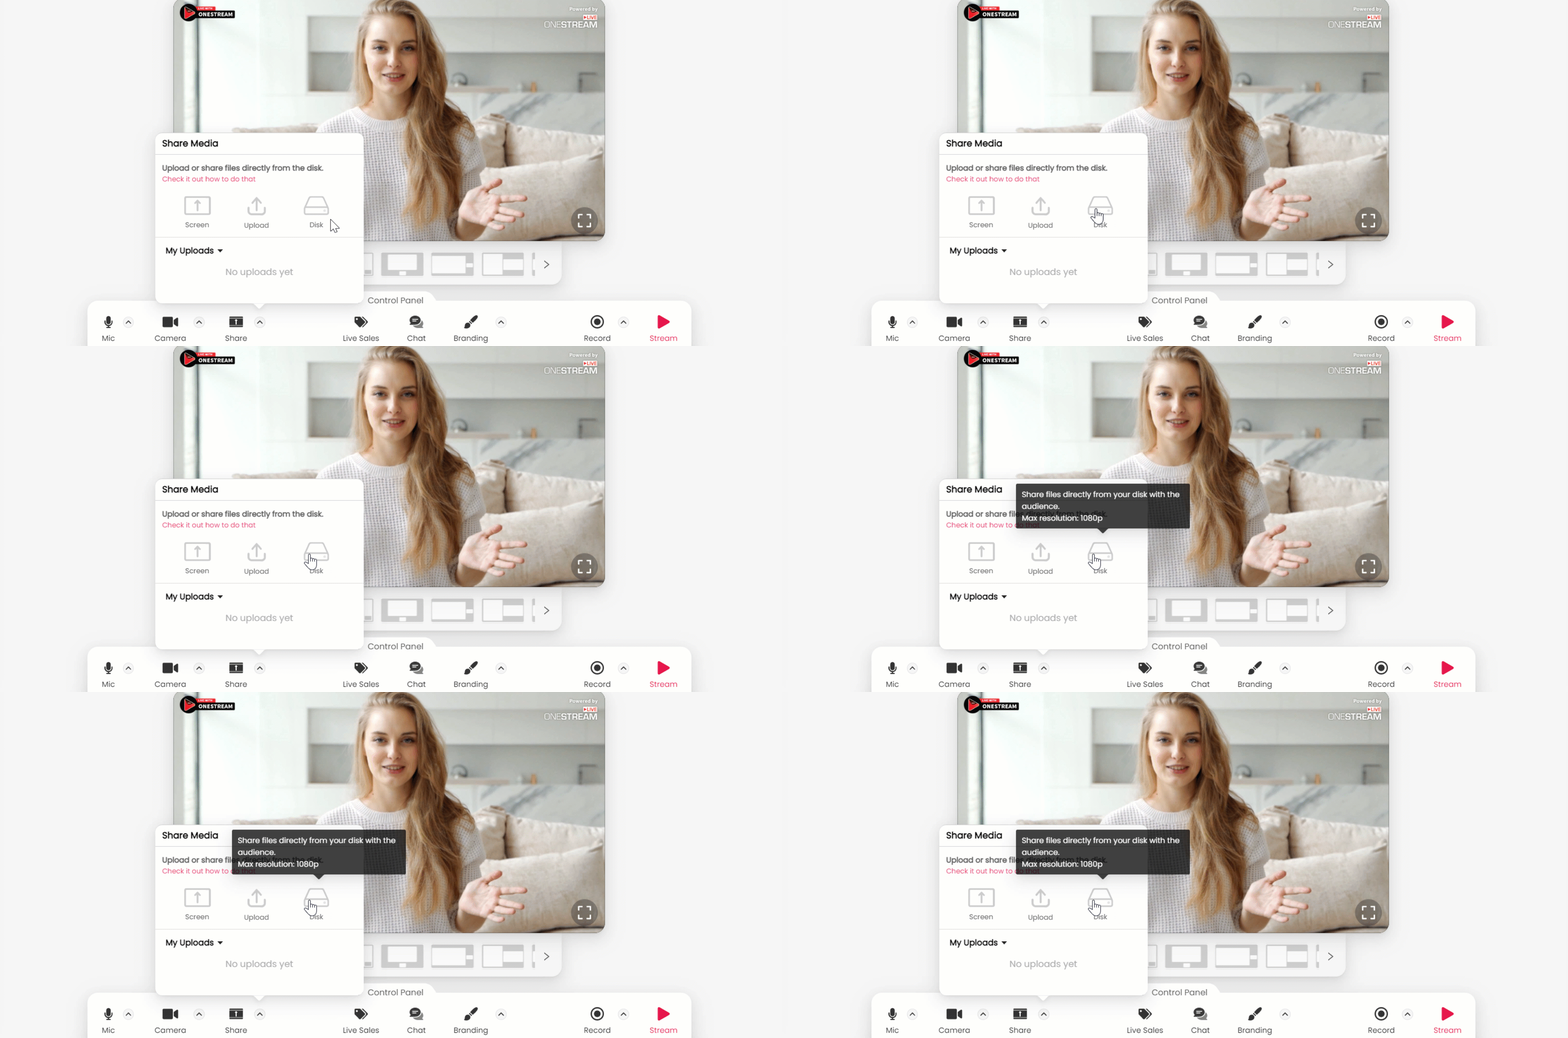
Important: Disk play only allows playing a video file. There is no max file size. However, the max file resolution is 1080p and the supported format is MP4.
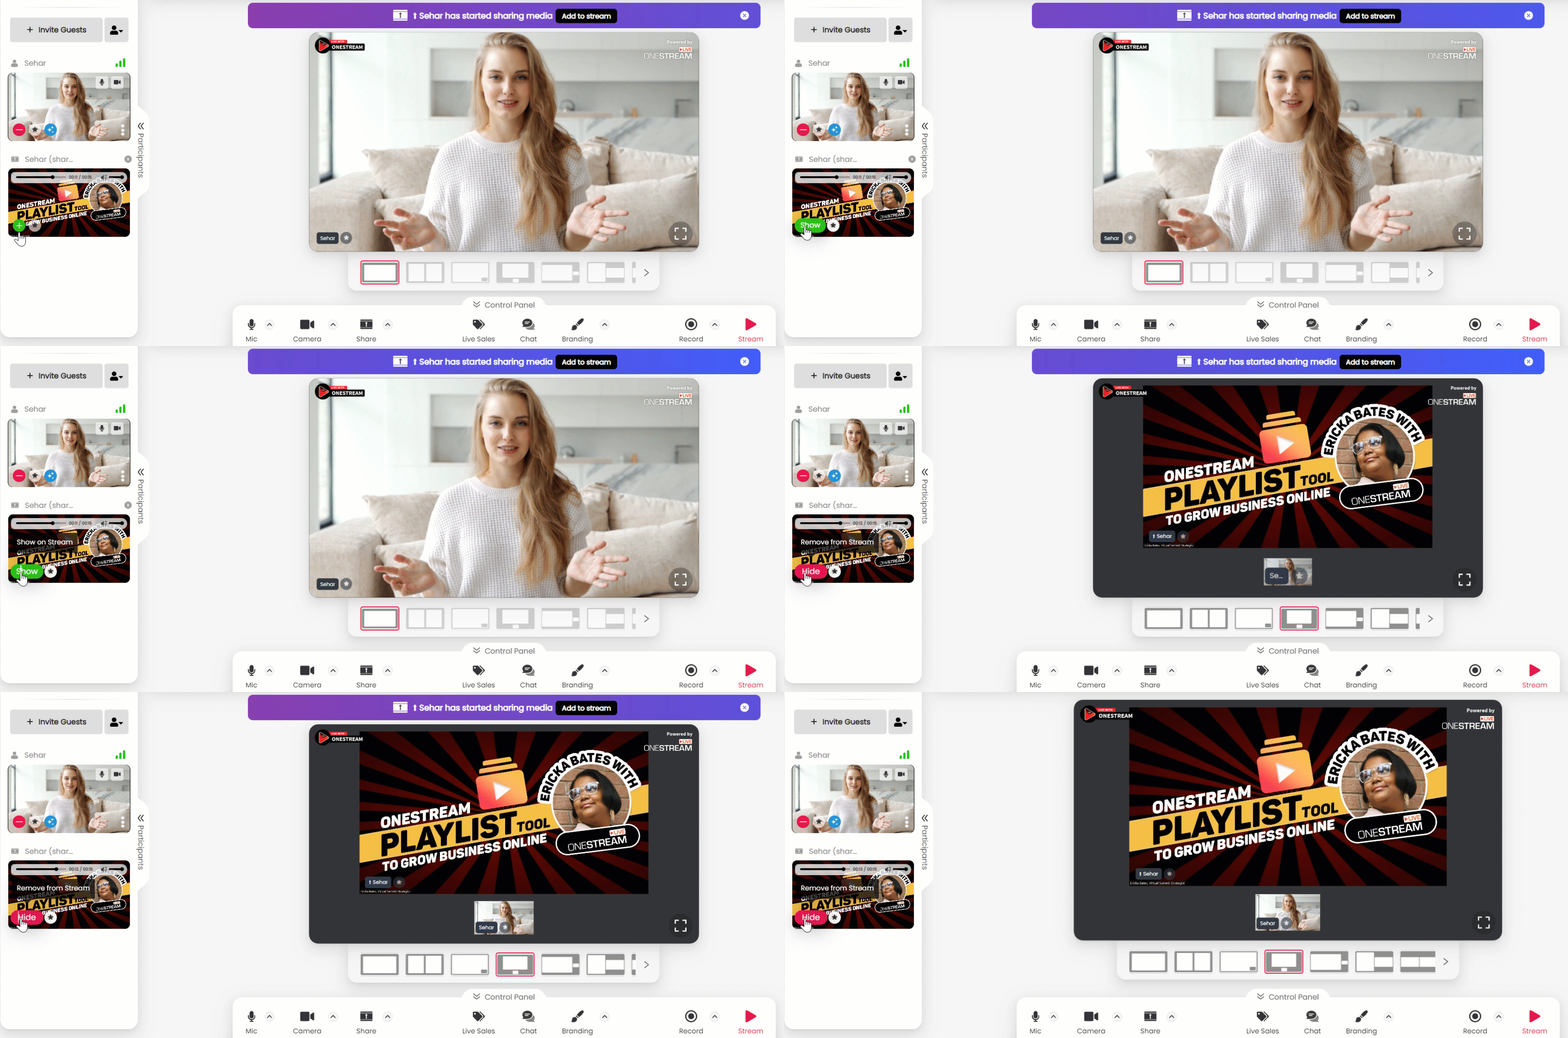
Important: The number of allowed uploads depends upon your plan. For more information, Check Pricing Plans.
Media sharing can be used for anything from webinars to presentations, product demos, training sessions, corporate meetings, web conferences, and sales calls.
Get started with OneStream Studio and explore the world of endless opportunities in live streaming.
OneStream Live is a cloud-based live streaming solution to create, schedule, and multistream professional-looking live streams across 45+ social media platforms and the web simultaneously. For content-related queries and feedback, write to us at [email protected]. You’re also welcome to Write for Us!

Stay in the Loop
