
Livestream videography is the strategic application of lighting, framing, and audio depth to maximize viewer retention in real-time broadcasts. Unlike traditional video production, where mistakes are fixed in the edit, livestreaming relies on a “set-and-forget” environment where your physical space does the heavy work.
In 2026, mastering these visual fundamentals—specifically ISO management, three-point lighting, and vertical-safe framing—is the primary indicator of a credible brand. You don’t need a film degree or a Hollywood budget to master this. Let’s break down the mechanics of looking professional, live.
- Videography and livestreaming are deeply connected. When you work on your videography skills, you’re making your stream quality better every day.
- Important elements like ISO, aperture, lighting, and framing make your stream engaging and appealing.
- Practicing essential videography techniques turns your streams comparatively more engaging.
- Simple habits like stable camera placement, clear audio, and a good background can add a difference in stream experience.
- OneStream Live helps streamers apply videography basics in a professional livestreaming setup with ease.
The Link Between Videography and Streaming
Videography and live streaming are closely connected because both rely on the principles of visual storytelling. But why do you have to understand the link? It’s because videography can be perfected in pre-recorded videos, but not when you’re live. When you’re streaming the content in real-time, your videography mistakes are instantly caught.
Videography for beginners ensures:
- Better camera framing during the streams (no more unbalanced streams)
- More flattering lighting (making you appealing, always)
- Sharper and stable video quality (no more shaky videos that shake your stream quality)
- Clearer focus and smoother movement (You’re always in the spotlight)
- A more professional on-screen presence (no compromise on professionalism)
As we’ve said, you don’t have the luxury of editing out errors in livestreaming. So, when you learn videography, you can make your stream intentional, not accidental.
What is Videography?
Videography is something we all do in our daily lives. Think about filming a beautiful sunset and ask yourself what would make this simple clip of going down more visually compelling? It’s not just about pointing your camera at the sky. It’s your framing, camera movement, lighting, timing, and storytelling.
With all these elements perfected, you go from a casual videographer to a professional. In live streaming, videography determines how you appear to your viewers and how effectively you deliver the purpose of your live session.
The 3 Pillars of Livestream Videography
For broadcasting, there are three core areas of videography you need to get right as a streamer. Mastering these pillars allows you to turn your dull-looking streams into professional, engaging ones
1. Lighting
Good lighting ensures you’re clearly seen by your audience and gives your stream a polished look.
Key tips for lighting:
- Avoid strong backlighting because it can darken your face.
- Go for soft and diffused lighting to reduce harsh shadows.
- Add a small backlight to separate yourself from the background.
2. Lighting
Bad audio is an instant walk-away moment for viewers. Even if your visuals are perfected, make sure you don’t ignore the audio.
Here are some tips:
- Use a USB, lavalier, or XLR mic depending on your setup.
- Reduce background noise by closing doors and adding soft furnishings.
- Check levels before going live and monitor during the stream.
3. Framing
How you appear in front of the camera impacts engagement and professionalism. This is why proper framing is important to draw attention to you and your content.
Key tips for framing:
- Follow the rule of thirds and keep yourself slightly off-center.
- Keep the camera at eye level.
- Maintain a clean, intentional background that reflects your brand or personal style.
Videography Basics Streamers Must Understand
Modern streaming requires intention. To succeed in today’s time, you need to work on a few elements before going live. Here’s our guide on mastering the basics of videography for streaming.
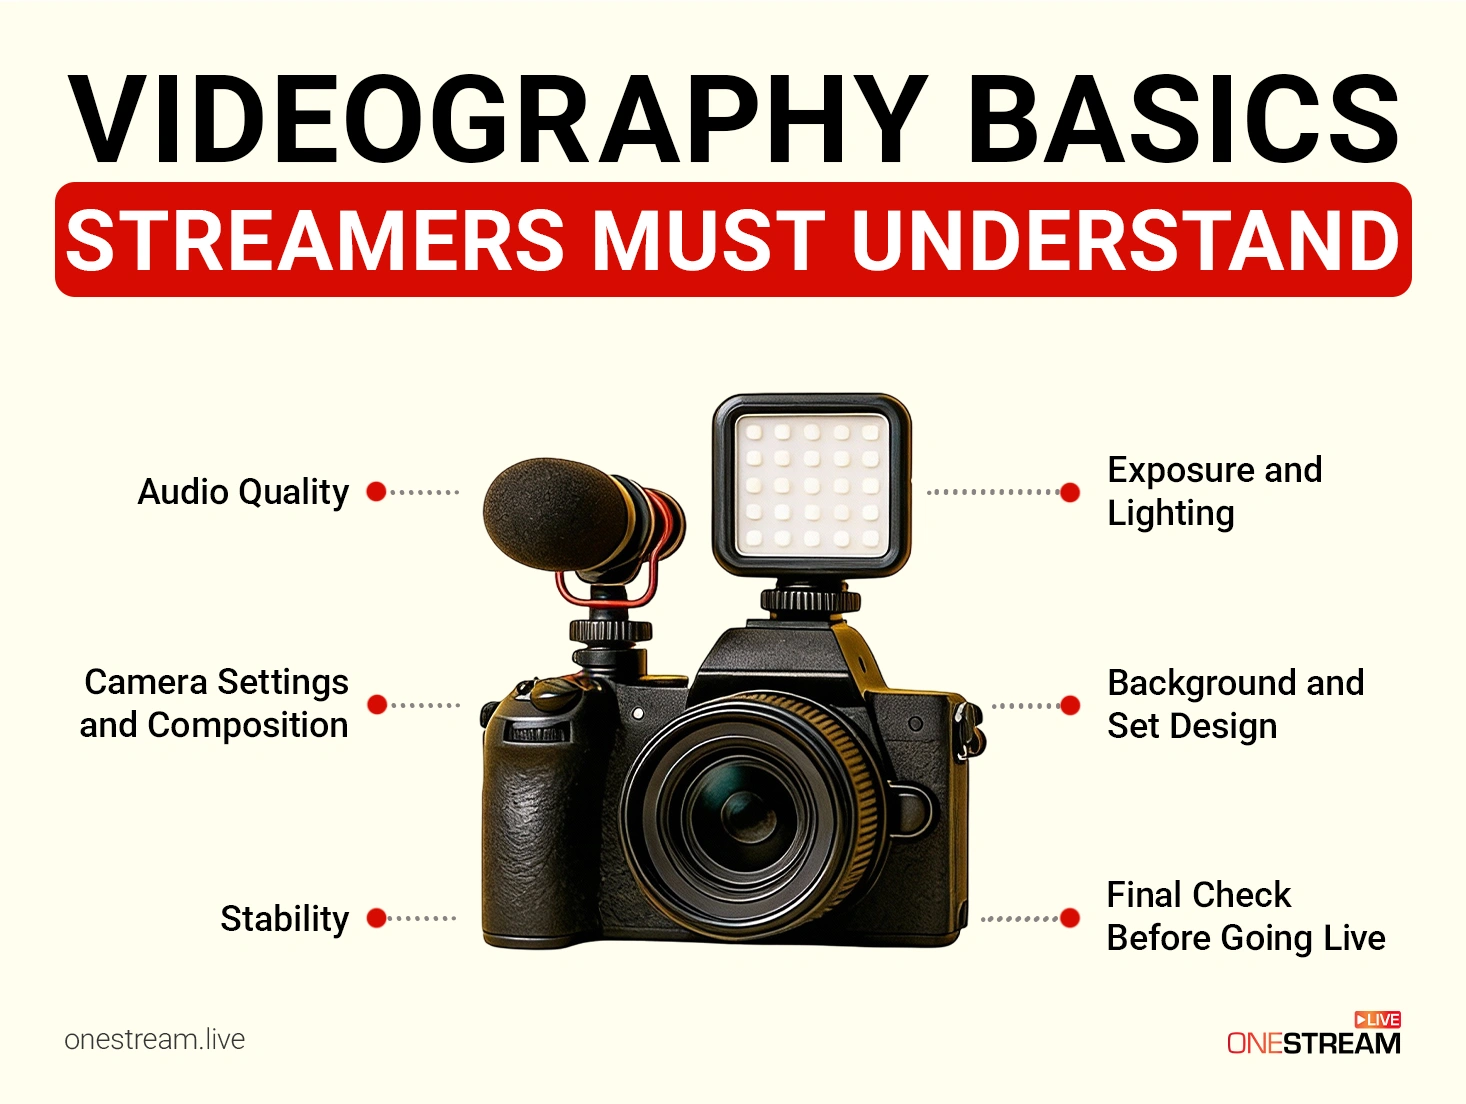
1. Camera Settings and Composition
How your camera sees you is the first thing you need to care about.
- Framing and Rule of Thirds: For solo talking-heads, centering yourself in the frame is the best option, specifically if you’re using overlays or chat windows. Use the rule of thirds if you’re sharing your screen or hosting a guest in your stream.
- Camera Angle: Keep your camera at eye-level for natural engagement. A high or low angle can make the stream awkward.
- Movement: Keep your camera stationary during the streams to avoid distractions. If you use motions, try practicing smooth pans or tilts.
Pro Tip: Use a small LED light behind you to create depth and separate yourself from the background.
2. Framing for Vertical Streaming
Streamers in 2026 focus on multi-platform streaming to expand their reach. However, for this, you need to ensure your framing works best for horizontal (16:9) and vertical (9:16) audiences. Ignoring this will lead to cropped faces or unreadable visuals on vertical platforms like TikTok.
- Center-Safe Framing: Position your face within the center 50% of the frame so it remains visible when cropped for vertical platforms like TikTok and Instagram Live.
- Leave Headroom: Avoid placing your face too high or too low in the frame to prevent clipping on vertical feeds.
- Overlay Awareness: Keep important visuals away from edges where platform UI elements and captions appear.
3. Exposure and Lighting
Bad lighting is the fastest way to lose a viewer. Humans are biologically wired to ignore what they can’t see clearly. If you look like a shadow puppet, you don’t exist.
- Exposure Basics: Keep ISO under 800 to avoid digital noise in your livestream, use a wide aperture (f/1.8–f/2.8) to let in more light and set shutter speed to at least 1/60 for talking-head streams to avoid motion blur.
- Lighting Setup: Go for soft LED panels at a 45 degree angle or a bounce light off a wall to create glare-free lighting that’s easy on your eyes.
- Avoid Backlighting: Don’t sit directly in front of bright windows or lights because backlighting causes your face or the main subject to appear dark.
4. Audio Quality
Audience may ignore your visuals, but audio? They won’t tolerate that.
- Microphone Choice: Use a USB mic with noise cancellation and pair it with an audio software like NVIDIA Broadcast to remove the background noise.
- Environment: Hard floors kill audio. Throw a blanket on the floor if you don’t have rugs. It stops the echo.
5. Stability
Shaky footage is an instant negative impression; you don’t want that.
- Tripods and Mounts: Use this equipment to keep the camera steady and avoid shaky footage.
- Gimbals (Optional): If you want movement, use stabilizers to help maintain smooth motion.
6. Background and Set Design
Your background communicates everything about your stream.
- Declutter: Keep your background clean and intentional.
- Branded or Themed Elements: Add subtle décor or items that reflect your brand if you’re streaming for a brand or business.
7. Final Check Before Going Live
Sometimes you miss things in the preparation; a final check saves you from a lot of trouble during the stream.
- Preview Your Stream: Final test your framing, audio, and lighting before going live. Use OneStream Live broadcast preview to test everything and make your broadcast error-free.
- Adjust on the Fly: Use your videography skills to make quick fixes without disrupting the stream.
Pro Tip: If you have dual monitors, keep your stream preview open in one. With OneStream Live, you can monitor what your viewers see in real-time while you’re streaming.
Best Videography Techniques to Start Practicing
Videography is mastered with repetition. The more you practice certain techniques for the camera, adjusting your settings, experimenting with angles and lighting, the more you understand. We have listed some beginner-friendly techniques to help you get comfortable behind the camera and create more visually consistent streams.
1. Master the Rule of Thirds
Use the 3×3 grid to guide your framing. Position your eye along the upper line and place yourself slightly off-center. With this, you maintain a balanced and visually appealing composition that draws attention to your face naturally.
2. Practice Smooth Camera Movement
While streamers usually stay within the frame, you still need to know how to move in front of the camera without disrupting focus. Don’t lean too far forward or sideways, and avoid sudden movements. Keep your movements smooth and intentional.
3. Learn to Focus Manually
Manual focus keeps your main subject sharp throughout the broadcast. How? It prevents auto-focus hunting (where the image pulses in and out), which is the #1 sign of an amateur broadcast. Locking your focus manually allows you to prevent these distractions when you move, gesture or show objects on camera.
4. Practice Storytelling and On-Camera Presence
Your livestream benefits from pacing and structure. Start practicing delivering your content with clarity by using natural gestures, maintaining eye contact with the camera and guiding your viewers through a clear beginning, middle and end.
5. Try Different Angles and Background Setups
Everyone is streaming from a different place and a unique setup. Your setup might look unbalanced from one point of view and appealing from another. Experiment with different camera angles to find the most visually appealing option for livestreams.
Videography Tips for Beginners to Improve Future Broadcasts
Getting along with videography at first may feel overwhelming, but small habits and adjustments make a big difference. Use these tips to make a difference in your future streams.
- Don’t buy a $50 webcam. Use the 4K camera in your pocket. Use an app to turn your phone into your webcam.
- Use a minimal setup to reduce technical errors during the streams. Stick to one camera, one microphone, and one light until you have a good grip on videography.
- Clean your lens every time before you go live. A quick wipe can remove dust or fingerprints, and make sure you avoid touching the lens during setup.
- Stability is important during broadcasts. If you don’t have the gear yet, make sure to place your camera on stacked books or a sturdy shelf to avoid shaky visuals.
- Record yourself before you go live. A short clip to check lighting, audio levels, framing and background helps you catch issues early and keeps your stream experience pleasant.
- Basic shortcuts can make your streams feel smooth and uninterrupted. With a streaming video service like OneStream Live, you have shortcuts for everything at your fingertips.
- Never stop learning. Videography isn’t something you can master in a day. Keep practicing, reading and watching videography tutorials until you achieve perfection.
Conclusion: Videography 101 for Better Livestreaming
You have the content. Now give it the packaging it deserves. If you’re a daily streamer or you stream for a living, then videography isn’t optional for you. A polished stream will always outperform the stream that ignores core videography skills. Don’t overwhelm yourself with getting into the complexities of videography when you’re a beginner. Practice what we discussed: lighting, composition, and audio will allow you to take control of your visual presence.
Use OneStream Live as your helping hand in mastering the videography. It allows you to preview your streams before you go live, lets you make quick adjustments with shortcuts and the best part: you can customize your live studio layout. This means if you don’t have the perfect background yet, OneStream has you covered with countless backgrounds and its graphic library.

FAQs
Keep your face within the center 50% of the frame. This “center-safe” framing ensures your video looks correct on horizontal platforms like YouTube, TikTok and Instagram Live.
Yes. Manual focus is better for livestreaming because it prevents autofocus hunting, where the image pulses in and out of focus. Locking focus keeps your stream visually stable and professional.
The most common mistakes include autofocus hunting, poor lighting, unstable camera placement, improper framing for vertical platforms, and unprocessed audio.
Even high-quality microphones can pick up background noise during live broadcasts. Professional livestream setups combine a good mic with AI-powered noise suppression and audio processing
Controlled lighting, locked camera settings, stable framing, clean audio, and intentional background design create a cinematic look in real time—without editing.
OneStream Live is a cloud-based live streaming solution to create, schedule, and multistream professional-looking live streams across 45+ social media platforms and the web simultaneously. For content-related queries and feedback, write to us at [email protected]. You’re also welcome to Write for Us!