
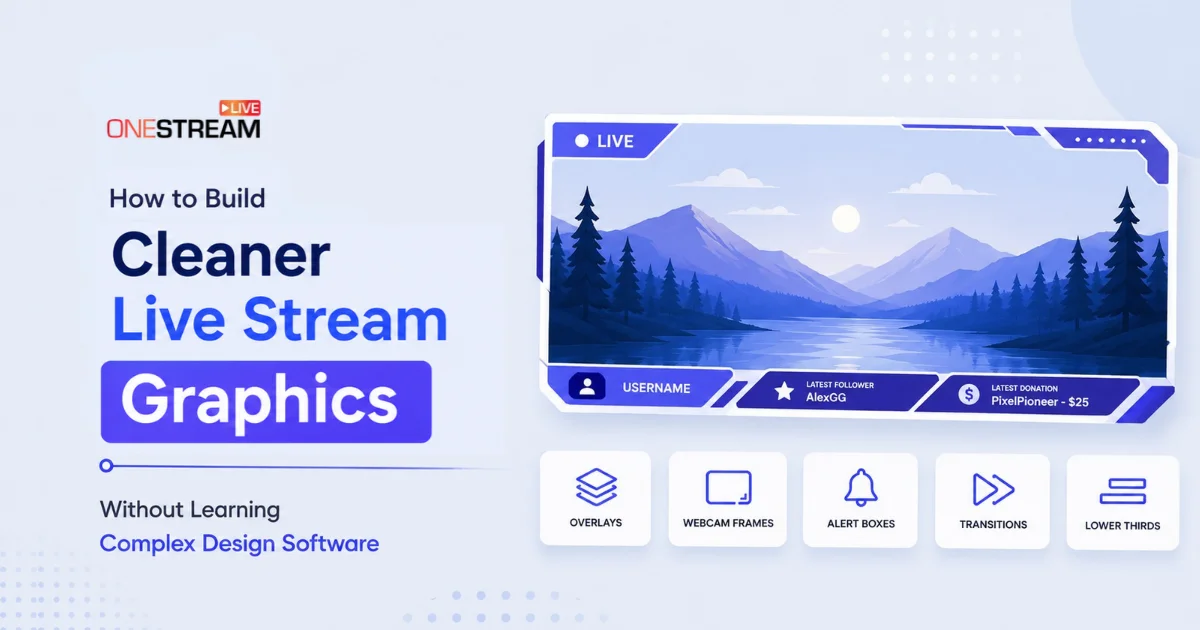
A professional live stream does not need to resemble a television studio. Every element on screen competes for the same space, so the problem is rarely any single graphic; it is how many of them appear at once. A logo, a lower third, and a frame each earn their place on their own, but stacked together they crowd one another and pull attention away from the person who is actually speaking. The strongest live stream graphics usually have a clear job. They identify speakers, reinforce branding, and present useful information without demanding too much attention. Modern browser-based editing tools have also made this much easier for creators who do not have advanced design skills or access to a dedicated graphics team.
- Cleaner stream graphics come from using fewer elements consistently, not from better design software.
- A logo, a speaker graphic, a lower third, and one information card cover most broadcasts.
- Removing the background from speaker photos is the fastest way to make mismatched images look consistent.
- A lower third only needs a name and one short line of context, sized to stay readable on a phone.
- One reusable template per element beats designing each broadcast from scratch.
How to Build Professional Live Stream Graphics in Six Steps
The following steps move from planning to delivery. None require design software beyond a browser, and each one produces an asset you can reuse on the next broadcast.
1. Start With a Small Visual System
Before creating individual graphics, decide what the stream actually needs. For many broadcasts, a logo, a speaker graphic, a simple lower third and one or two information cards are enough. Using the same fonts, spacing and visual treatment across those elements creates a more polished result than introducing a different style every time something appears on screen.
OneStream Live supports overlays, logos, virtual backgrounds, banners and other branding elements inside its streaming workflow, which means creators can build a recognisable visual identity without filling every part of the frame. Our guide to Creating Engaging Graphics for Live Streams covers what each of those elements does and where it fits.
A useful rule is to treat graphics as supporting information rather than decoration. If an element does not identify someone, communicate something useful or strengthen the brand, it may not need to be there.
2. Clean Up Speaker Photos Before Designing Around Them
Guest photos often create more design problems than the overlay itself. One speaker may send a professional headshot, another a cropped phone photo and someone else an image taken against a cluttered office wall. Placing all three directly into the same graphic can make even a carefully designed stream look inconsistent.
Removing the original surroundings first gives the designer much more freedom, especially when guest photos come from different sources and need to look consistent on screen. A quick way to do that is with this background remover from Cloudinary, which can isolate the main subject and create a cleaner cutout for transparent, solid-colour or replacement backgrounds. For teams preparing larger batches of speaker images, Cloudinary also supports automated background removal as part of broader image workflows.
Once the distracting background is gone, speaker images can be treated consistently even when the originals came from very different sources. The same crop, backdrop and frame can then be applied across an entire webinar, interview series or live event.
3. Write Lower Thirds That Answer a Question Quickly
A lower third normally needs to tell viewers who someone is and why they are relevant. That usually means a name and one short description, not a miniature biography.
Long text becomes especially difficult to read on phones, where the video may occupy only part of a small screen. A short job title or organization name generally works better than several lines of credentials. The graphic also needs enough contrast to remain readable against changing video backgrounds.
Consistency matters here too. If several guests appear during one broadcast, their names should use the same placement, font size and visual hierarchy. Small variations make a production feel less organized even when viewers cannot immediately explain what looks wrong.
Instead of designing each lower third from scratch, create one template and change only the information. This reduces preparation time and makes last-minute guest changes much easier to handle.
4. Give Logos Enough Space to Breathe
A logo can help reinforce brand identity throughout a stream, but making it larger does not necessarily make the branding stronger. Oversized logos can compete with faces, presentation slides and captions, particularly when several other graphics appear at the same time.
Place the logo somewhere predictable and leave sufficient empty space around it. Transparent versions are generally easier to integrate because they do not introduce an unwanted rectangle or background color into the frame.
The same principle applies to sponsor graphics. Rather than displaying several logos continuously, it may be cleaner to rotate them at appropriate moments or use a dedicated sponsor screen between segments. The branding remains visible without turning the live video into an advertisement-covered interface.
5. Build for the Smallest Screen
A graphic that looks excellent on a large desktop monitor may become unreadable when viewed on a smartphone. Before approving a design, reduce it to approximately the size it will occupy on a mobile screen and check whether names, logos and important visual details are still clear.
Thin fonts and intricate decorative elements often disappear first. Large text, simple shapes and strong separation between the subject and background generally survive resizing much better.
This is another reason clean speaker cutouts are useful. Removing visual clutter around the person makes the subject easier to recognize when the entire stream is being watched on a relatively small display.
6. Reuse Templates Instead of Starting Over
One of the biggest advantages of a simple graphics system is that it can be reused. A creator who regularly hosts interviews can maintain one speaker template, one waiting screen, one information card and one closing graphic, then update only the content for each broadcast.
Templates also reduce inconsistency between people working on the same project. Instead of every team member making independent decisions about fonts, positioning and colours, the main visual choices have already been established.
Over time, this becomes a small production library. Preparing the next event involves choosing the relevant assets and changing names or images rather than rebuilding the visual identity from nothing.
How Broadcast Studios Solve the Same Problem
The same principle is visible at a much larger scale in professional broadcasting. Variety reported on Network 10’s new Melbourne virtual studio, where presenters work in a physical space surrounded by green screen technology while viewers see a fully rendered digital newsroom. The setup allows the production team to change environments and integrate graphics without rebuilding a physical set for every format.
A solo streamer obviously does not need that level of technology, but the underlying lesson is useful. Separating the presenter from the physical environment creates more control over what the audience sees. For smaller productions, a clean cutout, simple background and restrained overlay can achieve a much more modest version of the same idea.
This also makes branding easier to change between broadcasts. A creator producing streams for several clients can reuse the same basic layout while swapping logos, colors and backgrounds instead of redesigning the entire visual system each time.
Use OneStream Live Studio for a branded live stream. Send the invitation link, add the guest to the stage, and your overlays, background and lower thirds are already set.
Cleaner Graphics Leave More Room for the Content
Live stream graphics does not need to be complicated to look intentional. A small set of consistent elements, well-prepared speaker images and readable text can create a more professional result than an elaborate layout filled with unnecessary effects.
The most useful tools are therefore often those that remove work rather than add more of it. Background removal simplifies inconsistent photos, templates eliminate repetitive design decisions and a restrained visual system keeps the audience focused on the broadcast itself.
When stream graphics are working properly, viewers should not spend much time thinking about them. They should simply know who is speaking, understand the information being presented and recognize the brand behind the broadcast.
If you would rather not build any of this yourself, OneStream Live Studio already has the overlays, logos, banners, tickers, and virtual backgrounds ready to use. Sign up free and try it on your next stream.
Frequently Asked Questions
What are live stream graphics?
Live stream graphics are the visual elements layered over your video feed, logos, lower thirds, overlays, banners, tickers, virtual backgrounds, and information cards. They identify who is speaking, present useful information, and carry your branding.
What is the difference between stream graphics and stream overlays?
An overlay is one type of stream graphic. “Graphics” covers everything on screen, while an overlay usually refers to the frame or layer that sits over the video feed.
How many graphics should a live stream have?
Fewer than most people expect. A logo, a speaker graphic, a lower third, and one or two information cards cover the majority of broadcasts. Adding more usually reduces clarity rather than improving production value.
What should a lower third include?
A name and one short line of context: a job title or organization name. Several lines of credentials become hard to read on mobile and slow the viewer down.
What size should live stream graphics be?
Design at 1920×1080 to match standard streaming resolution, and export static graphics as PNG files so transparency is preserved. JPG files will leave a solid rectangle over your video.
OneStream Live is a cloud-based live streaming solution to create, schedule, and multistream professional-looking live streams across 45+ social media platforms and the web simultaneously. For content-related queries and feedback, write to us at [email protected]. You’re also welcome to Write for Us!