
More and more people are jumping onto the bandwagon of live streaming as it penetrates all walks of life. You can broadcast live shows, share your gameplays, shop through shoppable live streams, or simply video call your grandma – the content ideas are limitless. Whatever you do, the audio quality of your stream should be a top priority.
Too often, streamers direct all their energy to visuals and overlook the importance of audio. Viewers might tolerate a slightly blurry video, but muffled, echoing, or distorted sound will drive them away within seconds.
In fact, a recent study published in PNAS found that when audio sounded ‘tinny’ or distorted, participants perceived speakers as less intelligent, less credible, less hireable, and less likable. In other words, the delivery of sound not only shaped the speaker’s impression but also influenced the audience’s perception of the content.
In this guide, we share ten ways to improve live stream audio so that you can get the most out of your live streams.
- Poor sound quality can drive viewers away, even with great visuals.
- Use a good external microphone for clear, distortion-free sound.
- Choose the right equipment, like external microphones, mixers, and soundproofing tools, for smooth live audio.
- Local recording ensures studio-quality audio.
- Test the audio and internet before streaming to avoid technical issues.
How to Improve Live Streaming Audio Quality in 2025?
Clear and professional sound starts with a well-planned live streaming audio setup. To improve it, start with a reliable microphone, optimize the acoustics of your streaming space, and use supportive tools like audio interfaces or streaming amplifiers.
Together, these factors decide the quality of your audio. The following sections provide details of each aspect.
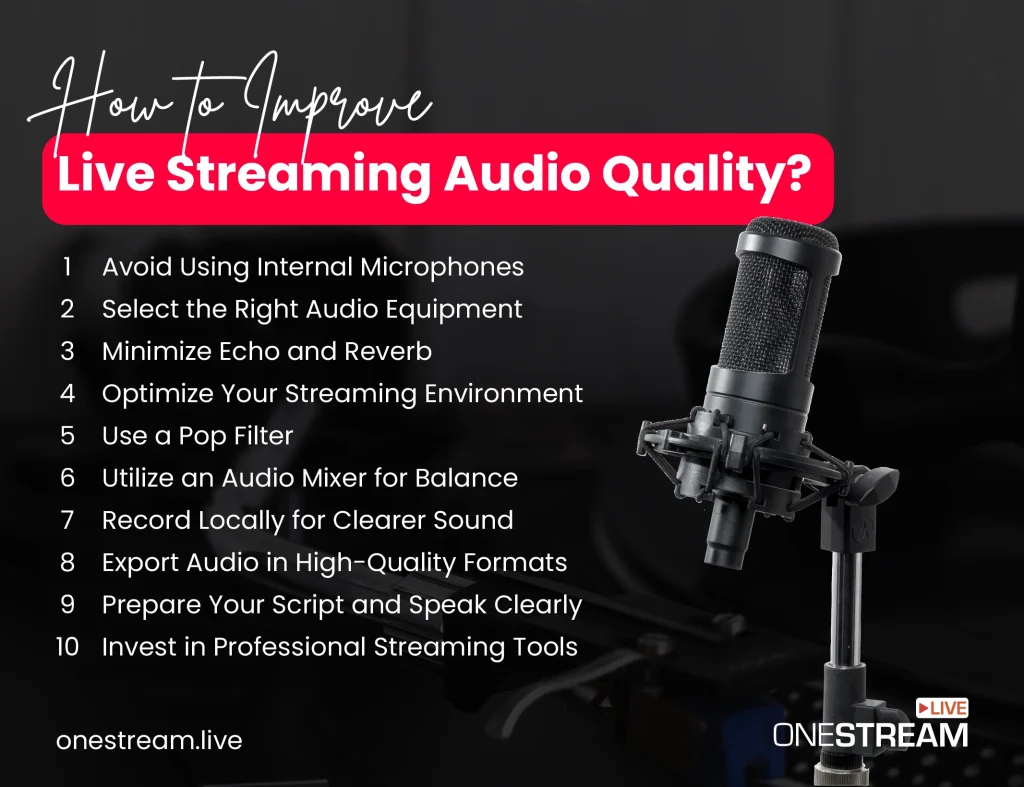
1. Don't Use Internal Microphones
It’s tempting to simply use the internal microphone on your phone, tablet, or laptop. After all, it’s right there, convenient and readily available. But it’s just not going to cut it when it comes to live streaming. The audio appears to have poor sound quality when streaming video and lacks the professional impact necessary to make a lasting impression.
However, if you plan to livestream, you will need a dedicated external microphone. You should invest in a microphone that captures all the nuances in the sound to achieve the best sound quality.
What makes the best microphone for streaming?
- Sound Quality: The microphone should be designed to capture sound clearly. It should cover the full range of the human voice, typically between 20Hz and 20kHz.
- Cardioid Pattern: A microphone with a cardioid pattern focuses on capturing sound from the front while minimizing noise from the sides and rear.
- Connectivity: For ease of use, a decent microphone should offer USB connectivity. They should be compatible with both Windows and macOS.
- Accessories: Useful extras like a shock mount, pop filter, and adjustable stand enhance the usability of the microphone.
- Affordability: A great microphone is not always expensive. Make sure you’re shopping around to get something that works for you.
- Reliability and Versatility: Check reviews from other streamers for insights. A good mic should be compatible with all major streaming platforms.
2. Right Equipment and Techniques for Clear Audio Quality
Your audio needs are going to be different, depending on what you’re live-streaming. For example, a virtual concert will need a different setup than a solo gaming streamer. When you have the right equipment for the job at hand, you’ll get the best sound possible.
For example, suppose you’re mostly video conferencing. In that case, you’ll need a good quality microphone that plugs into your laptop or PC, along with an HD quality webcam and headphones. If you’re live-streaming a podcast, you’ll need a mic for every person, as well as a mixing board.
Therefore, the live stream mic setup depends mainly on the nature of the stream. Most commonly, we have three basic options for microphone configurations: dynamic, condenser, and lavalier microphones.
Dynamic Microphones
They are ideal for a loud or uncontrolled environment as they naturally block out background noise.
Best for: Gaming streams, concerts, busy rooms.
Condenser Microphones
They are more sensitive than dynamics and capture a wider frequency range. This results in a more detailed sound. However, they are preferred in controlled environments where background noise is minimal.
Best for: Home studios, classrooms, and offices.
Lavalier Microphones
Small and clip-on, lavs allow hands-free use while still delivering clean, detailed audio.
Best for: Podcasts, interviews, and presentations.
In the end, the choice of streaming equipment comes down to the nature of the stream and its surroundings.
Pro Tip: Good audio isn’t just about having the right equipment. It’s about how you use it. Small tweaks like adjusting your mic position and controlling the gain are crucial for the overall sound quality.
Set the gain correctly: Gain adjusts how much of the input signal your microphone captures. If it’s set too high, the audio will distort. When testing with loud speech, aim to keep the peaks around -10 dB for clean sound.
Mic placement for streaming: Start with the mic about a hand’s length away and adjust it slightly during testing until you find the position that best suits your voice. However, it is advised to position the mic about 45° away from your mouth to reduce harsh sounds and pops.
Using these simple mic techniques will instantly upgrade your sound and make your audio more professional.
Read More: Checklist for Professional Live Streaming
3. Control Echo to Improve Audio Quality
Have you ever watched a video or live stream where it sounded like it was echoing? That’s reverb, and usually, your brain would filter the sound out. However, when you’re watching a live stream, it sounds out of place and distracting.
“This is because the stream is coming to a different space than the one you’re in,” says Justin Teller, a tech journalist at Essay Writing Services. “As such, you’ll find it off-putting when you’re trying to watch the stream.”
To avoid this live stream audio problem, it is advised to use a smaller space. Compact rooms have fewer reflective surfaces, which reduces echoes and keeps your sound clear.
Finally, consider covering the walls in acoustic treatment, which dampens reverb and makes the sound much better overall.
Still hearing an echo? That often means your microphone is picking up sound from your speakers. You can fix this by wearing headphones, which keep the playback in your ears instead of filling the room and causing audio bleed.
Additionally, headphones let you monitor your voice in real time, so you can fix issues before your audience notices.
In short, controlling reverb and echo comes down to smart choices: use a smaller room, add acoustic treatment, and wear headphones. These simple steps go a long way in making your live stream audio clear and distraction-free.
4. Use a Pop Filter
Ever notice that sharp pop in your voice when you say words with “p” or “b”? Those plosive sounds push air straight into the mic. This makes them stand out much louder than the rest of your speech.
Pop filters exist to solve this problem. It’s a small screen you place in front of your microphone to block those bursts of air. The result is smoother, clearer audio that’s easier to listen to.
5. Set Live Stream Room for Better Sound Quality
Our recording space has as much impact on sound as your microphone. A quiet, designated room makes a big difference. The less outside noise your mic captures, the cleaner your audio will be.
For live streaming, choose a location that’s isolated. Rooms without windows or shared walls work best, since they block traffic and outside noise. Avoid areas near appliances like furnaces or refrigerators, which can add hums or sudden sounds.
Even with the right room, outside noise can still creep into your stream. That’s where soundproofing steps in.
You can easily solve this problem by soundproofing your room. For example, acoustic foam panels, bass traps, and sound diffusers can make a difference by absorbing ambient noise and minimizing echoes.
Alternatively, thick blankets or duvets, such as fleece blankets, work well for soundproofing the walls.
6. Use Audio Mixer for Better Audio Quality
What if your stream has more than one audio source, two microphones, a guitar, or background music? Without a mixer, those sounds compete, and the result is uneven audio. A mixer keeps everything balanced. It takes each input and adjusts the levels accordingly. As a result, the sound quality improves before your audience hears it.
You can choose between two main types. Analog mixers are simple and hands-on. They use physical knobs and dials for quick control.
However, digital mixers add flexibility. They have app-based controls, preset options, and even remote operation through a phone or tablet.
The rule is simple: if your live streaming includes multiple audio sources, a mixer helps you stay in control. It turns a messy soundscape into clear, professional audio.
7. Use Local Recording for Studio-Quality Sound
If you’re pre-recording your live stream, you don’t need to stage the event like it’s live. Instead of using a single feed for all participants, local recording captures each person’s audio separately on their own device.
As a result, this gives you separate, high-quality tracks to stitch together during post-production. The end result feels cohesive, almost as if it were recorded live in real time.
Moreover, local recording keeps your audio safe from internet issues. Even if your connection slows or drops, the recording still comes out without screen pauses and sound problems.
8. Use Proper Export Settings
Even the best audio recording can fall short if it’s exported in a low-quality format. MP3s are a popular choice, but they’re considered “lossy” files, meaning important data is removed during compression. This results in a drop in sound quality.
Solution? Use WAV files. They preserve every detail of your recording and get superior sound quality. This makes it easier to edit and fine-tune your audio to perfection.
However, WAV’s large file sizes pose limitations. They can be challenging for storage and sharing in environments with limited space or bandwidth.
On the other hand, compressed formats like AAC offer a balance between quality and file size. You can enjoy high-quality sound while maintaining smaller file sizes. This makes them ideal for live streaming.
9. Prepare Your Script and Speak Clearly for Better Audio
Sometimes, the way we speak can make a huge difference in how our recordings come across. Listening to yourself can feel a little weird, but it’s the easiest way to spot problem areas.
Some words get rushed, others sound too loud, or specific phrases run together. In some spots, your voice might even be too soft.
These little habits can make your audio feel messy or complicated to follow. To avoid this, prepare your script before streaming or recording.
Keep a steady pace and consistent volume while speaking. Pronounce your words clearly and speak deliberately.
As a result, your listeners will find it much easier to stay engaged, and your recordings will sound polished and professional.
10. Invest in a Professional Streaming Solution
OneStream Live offers built-in features to further enhance your audio experience. You can use OneStream Studio to gain access to three key audio settings:
- Noise Suppression
- Echo Cancellation
- Auto Gain Control
OneStream Live supports streaming pre-recorded videos. Pre-recording allows for careful editing and post-production enhancements, resulting in a polished final product.
Moreover, technical glitches, such as internet issues, can be a concern in live broadcasts. By pre-recording content, you mitigate this risk, and your audience has a smoother and more reliable experience.
Moreover, OneStream Live is designed with broadcast-quality streaming in mind. It supports high-quality audio encoding to deliver crisp and clear sound.
Pro Tip: For the best audio quality, use the AAC codec at 128 kbps. It ensures clear, consistent sound with minimal distortion. By doing so, you ensure that your audio stays professional even in poor network conditions.
Read More: How to Adjust Sync Audio in OBS?

How to Make Stream Quality Better with Reliable Wi-Fi and Pre-Testing?
There’s nothing worse than having to check your audio live during a stream when you should be presenting or performing. The best way to avoid this is to thoroughly check all technical details before going live.
Start by testing the sound on multiple devices. Since viewers will be tuning in from various devices, you should test on phones, computers, and tablets. This makes sure your sound quality is consistent across the board.
When your reputation depends on keeping an audience engaged, downtime is the enemy. Therefore, use a reliable router to help you get constant WiFi access. However, it is advised to use a wired connection, so you’ll always have the best possible reception as you stream.
The Bottom Line
By now, you understand that top-tier audio quality is non-negotiable for successful live streaming. Poor sound can affect viewers’ retention, even if your visuals are on point. Viewers rely on clear audio to stay connected as high-quality sound builds credibility.
The fix? It’s simple. Upgrade your live streaming audio setup today. Choose the right equipment and adjust your surroundings. Lastly, test the equipment and internet connection before going live. Troubleshooting in advance can save you from low-quality stream performance.
Don’t let poor audio drive your audience away. Sign up for OneStream Live now and deliver flawless and professional sound every time!

FAQs
Clear audio keeps viewers engaged and makes your stream feel more professional.
It depends on your live stream room setup and the nature of the stream. Dynamic mics are great for noisy environments, and condensers for controlled spaces. Lastly, lavaliers are ideal for hands-free podcasts or interviews.
Use a cardioid mic to focus on your voice and minimize background noise. Also, add soft furnishings or acoustic panels to your room to absorb unwanted sounds. Or simply use OneStream Live’s noise cancellation feature in Live Studio.
Yes, poor internet can cause audio dropouts or sync issues during your stream.
Live streams occur in real-time, so audio must be optimized both before and during the broadcast. However, if you are using pre-recorded videos, you can edit them before streaming.
OneStream Live is a cloud-based live streaming solution to create, schedule, and multistream professional-looking live streams across 45+ social media platforms and the web simultaneously. For content-related queries and feedback, write to us at [email protected]. You’re also welcome to Write for Us!